
Ori and the Blind Forest Forlorn Ruins: Puzzle Guide
Master Ori and the Blind Forest forlorn ruins with gravity puzzle solutions, Keystone routes, secret locations, and tips for escaping Kuro. Find your way.
Jump to
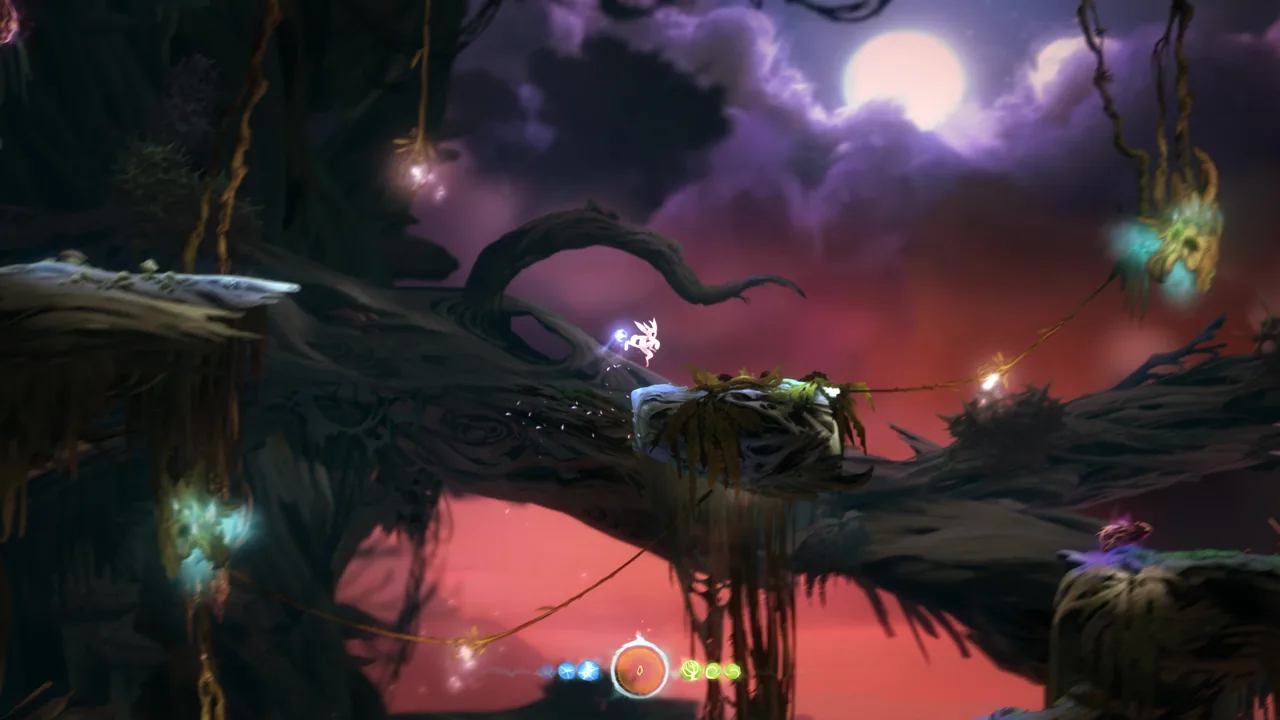
How to Solve the Forlorn Ruins Gravity Puzzle
Ori and the Blind Forest Forlorn Ruins becomes much easier once you realize the glowing sphere changes which way you fall. That mechanic determines how you cross the gold stones, reach Keystones, and avoid dropping into spikes. This Ori and the Blind Forest Forlorn Ruins walkthrough covers the main puzzle route, hidden pickups, and the escape toward Kuro’s Nest.
The sphere is the Light Shield, which protects Ori from the heated surfaces used throughout these puzzles. While you hold it, you can also walk around compatible surfaces onto walls and ceilings. Release it, and gravity returns to normal.
That gives you two things to consider before each jump: the surface beneath Ori’s feet and whether you should keep carrying the shield.
| Action or position | Effect | How to use it |
|---|---|---|
| Hold the Light Shield on compatible surfaces | Ori can follow the surface onto walls and ceilings | Walk around curved edges to change orientation |
| Stand on the right side of a gold stone and jump | Ori falls toward the left | Reach the next stone across the chamber |
| Stand underneath the central gold stone and jump | Ori travels toward the ceiling | Reach the upper route near the Map Stone |
| Release the Light Shield | Gravity returns to normal | Drop toward an ordinary ledge or platform |
Watch Ori’s feet before jumping. A platform across the screen can become reachable after you walk around your current stone and change orientation.
Follow the smooth curves of the special surfaces. Ordinary corners and nearby spikes still demand care, so pause before stepping off an edge. If a jump repeatedly sends you into the same hazard, change your position on the stone before trying again.
You can pick up and release the shield as needed. It follows Ori when you are not carrying it, so releasing it is part of solving the route.
Official page: Ori and the Blind Forest (store.steampowered.com)
Follow the Keystone Route to the Map Stone
Begin the Ori and the Blind Forest Forlorn Ruins route by double-jumping left to collect the Light Shield. Before continuing deeper, check the optional passage on the right: carry the shield up the right wall, then drop to the Spirit Light Container.
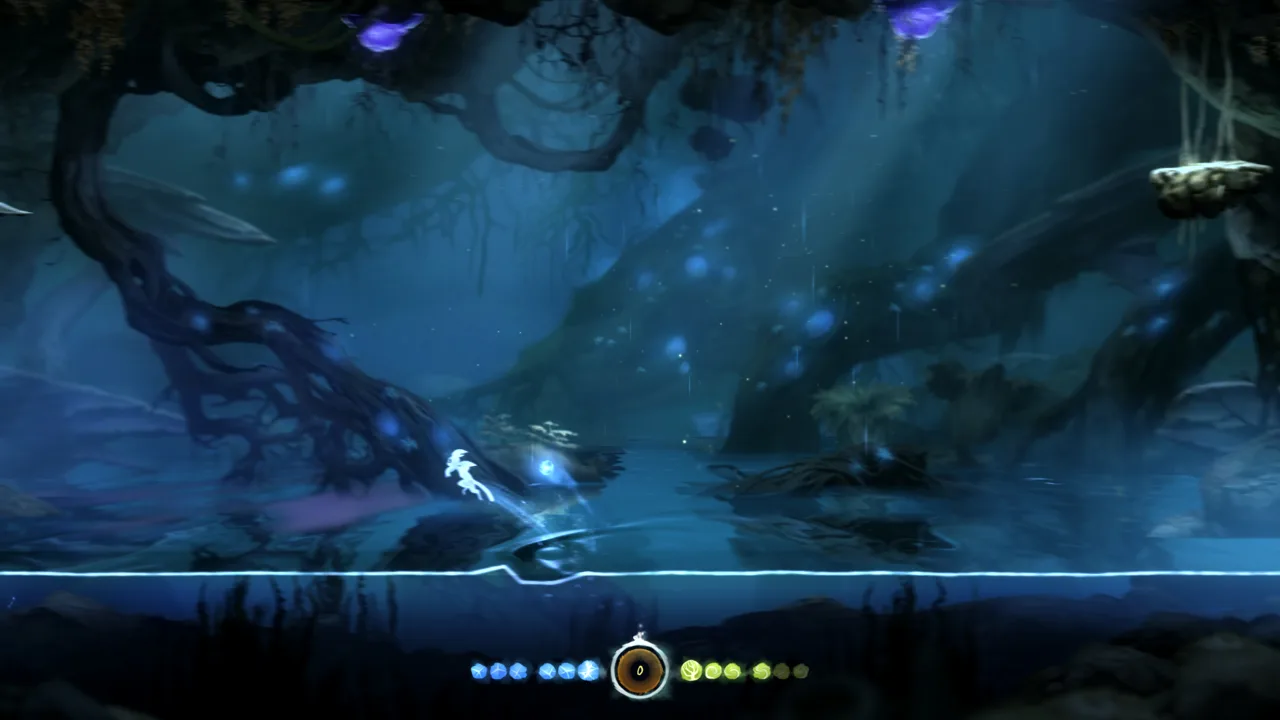 Image: Steam / Moon Studios GmbH
Return left when you are ready to tackle the main chamber.
- Follow the left wall upward. Keep holding the shield as the route curves overhead. Move along the ceiling, drop where the route opens, and use the next compatible wall to continue.
- Cross the pillars. Work through the platforms until you are upside down again, then follow the overhead surface past the spikes.
- Check the spider-side cave. Bash off the spider or one of its projectiles to reach a hidden Spirit Light Container.
- Drop toward the lower pillars. The Keystone on the left requires a loop around the nearby wall and ceiling. Follow that curve, drop, and circle back to collect it.
- Return toward the central stones. Double-jump to the middle stone or use the smaller stones while carrying the shield.
The gold stones make the gravity mechanic especially clear. Walk up the wall on the right, then jump to the gold stone. Stay attached to its surface and move around to its right side. Jump from there to fall toward the stone farther left.
Circle that left stone to collect the second Keystone, then return to the central gold stone.
| Landmark | What to do | Destination or pickup |
|---|---|---|
| Lower pillar area | Loop around the left wall and ceiling | Keystone |
| Far-left gold stone | Reach it from the right side of the previous stone | Second Keystone |
| Central gold stone | Move underneath it and jump toward the ceiling | Upper route |
| Upper-right ledge | Release the shield and jump right | Map Stone |
To reach the Map Stone, stand underneath the central gold stone while holding the shield. Jump toward the ceiling, then release the shield and jump right onto the ledge.
For this Ori and the Blind Forest Forlorn Ruins puzzle, choose your launch surface before choosing your jump. Walking a little farther around a stone can completely change the direction of your next crossing.
Reach the Spirit Well and Clear the Lasers
From the Map Stone area, return to the gold stones. Walk around to the right side of a stone and jump so that Ori falls left. Repeat the maneuver at the next stone to reach the Spirit Well.

Release the shield and save at the well. Saving here also matters for the achievement tied to saving at every Spirit Well.
The next Ori and the Blind Forest Forlorn Ruins section combines changing gravity with moving lasers. Break the route into separate crossings and watch each beam before leaving a safe surface.
- Work around the left wall and ceiling. Use the shield to reach the overhead route, then release it to drop onto the ledge.
- Climb through the adjoining walls. Hop up the wall on the right and use the shield on the compatible wall to the left.
- Reach the gold stone near the lasers. Time your jumps through the openings between the beams.
- Change orientation at the top. Walk around to the stone’s left side, then jump to fall right through the gap between the spikes.
- Continue through the lower laser passage. Use the gold stones to move left past the moving beam.
- Collect the Keystone on the left. Drop on the far side, take the Keystone, then descend right past the laser to return to the Map Stone area.
| Obstacle | Required movement | Tip |
|---|---|---|
| Upper laser crossing | Jump between gold stones | Watch the beam’s movement before launching |
| Spike gap at the top | Jump from the stone’s left side to fall right | Set your orientation before committing |
| Lower moving laser | Follow the gold stones left | Wait on a safe surface for an opening |
| Return passage | Drop right past the laser | Check the beam before descending |
The Light Shield protects you from the relevant heated surfaces; keep avoiding the lasers and spikes. Carrying it changes your route through the hazards, so check both your falling direction and the beam’s position.
Once you return to the Map Stone area, go past the spider and place the Light Shield in the center of the broken bridge. Cross the bridge to enter the room with two moving lasers.
Find the Hidden Pickups and Check Your Map
The Ori and the Blind Forest Forlorn Ruins collectible route includes two hidden Spirit Light Containers and an optional Life Cell. Check these branches before advancing into the escape.

| Pickup or landmark | Location | How to reach or use it |
|---|---|---|
| Spirit Light Container | Right of the initial shield pickup | Carry the shield up the right wall, then drop |
| Spirit Light Container | Secret cave near the spider | Bash off the spider or its projectiles |
| Life Cell | Hidden cave beyond the two-laser room | Stomp the pillar, pass through the opened doorway, and descend left |
| Map Stone | Upper-right ledge near the central gold stone | Jump from beneath the stone, release the shield, and cross right |
| Spirit Well | Beyond the gold-stone crossings | Follow the leftward gravity route and save |
How to Reach the Optional Life Cell
In the room with two moving lasers, time your jumps toward the left. Stomp the stone pillar to open the doorway above.
Go through that doorway and pass the next laser. Drop down, then enter the hidden cave on the left to collect the Life Cell. Return to the two-laser room afterward.
Take this detour before climbing toward the center of the large cavern. It keeps the collectible sweep together before the route shifts into the escape.
Check Your Edition Before Leaving
In the original Ori and the Blind Forest, Forlorn Ruins becomes inaccessible after its story sequence. Collect the hidden pickups and save at the Spirit Well before leaving if you are pursuing completion achievements.
Definitive Edition allows you to revisit Forlorn Ruins. Keep that distinction in mind when following older advice about permanently missed collectibles.
Before moving on, check that you have:
- Collected the Spirit Light Container to the right of the shield pickup.
- Reached the spider-side secret cave.
- Taken the optional Life Cell.
- Saved at the Spirit Well.
- Checked dark, unexplored sections of your map.
Map exploration and secret collection are separate completion goals. Check the hidden passages alongside your map coverage.
Escape the Ruins and Get Past Kuro
After finishing the optional branches, return to the two-laser room and climb its left side. Continue toward the center of the large cavern to reach the escape sequence.
The Ori and the Blind Forest Forlorn Ruins escape leads into Kuro’s Nest. Once you land there, use the available cover to survive Kuro’s attacks.
- Stomp through the ice. Hide underwater, then swim right and pull yourself out.
- Move behind the tree. Jump out and take cover before continuing.
- Open the log passage. Bash a spider projectile toward the log blocking your route. Remember that the projectile travels opposite Ori’s chosen Bash direction.
- Break the barrier on the right. Jump up and Bash the exploding creature into it.
- Drop beneath the tree log. Use the cover there, then push the log toward the right.
- Run right when the route opens. Jump up and continue to escape Kuro.
Treat each piece of cover as your immediate destination. Focus on reaching the water, tree, or log before preparing the next Bash.
After escaping Kuro, return to the Valley of the Wind. Float toward the top of the valley and take the upper-right exit into Sorrow Pass.
FAQ
How does gravity work in Ori and the Blind Forest Forlorn Ruins?
Holding the Light Shield lets Ori walk around compatible curved surfaces onto walls and ceilings. Your orientation affects which direction you fall after jumping. Releasing the shield restores normal gravity.
How do you reach the Map Stone in Forlorn Ruins?
Return to the central gold stone while carrying the shield. Walk underneath it, jump toward the ceiling, then release the shield and jump onto the ledge to the right.
Where is the Forlorn Ruins Life Cell?
The Life Cell is in a hidden cave beyond the room with two moving lasers. Jump left, Stomp the stone pillar to open the doorway above, pass the next laser, and drop toward the cave on the left.
Can you return to Forlorn Ruins after escaping?
You cannot return after completing its story sequence in the original Ori and the Blind Forest. Definitive Edition allows revisiting the area. In the original release, finish your collectible sweep and save at the Spirit Well before leaving.
Continue with
 Ori and the Blind Forest Ginso Tree: Route and EscapeMaster the Ori and the Blind Forest Ginso Tree with portal puzzle solutions, Bash tips, collectible reminders, and a clear route through the water escape.
More in Maps
Ori and the Blind Forest Map: Secrets and 100% Guide
Use the Ori and the Blind Forest map to track Life Cells, Energy Cells, Map Stones, and hidden secrets, navigate Misty Woods, and plan your 100% cleanup.

Ori and the Blind Forest Misty Woods: Complete Guide
Ori and the Blind Forest misty woods guide: find all four Keystones, learn Climb, solve shifting paths, restore the lantern, and reach the Forlorn Ruins.

Ori and the Blind Forest Mount Horu: Map & Route Guide
Explore Ori and the Blind Forest Mount Horu with a room-by-room opening route, collectible checks, lava puzzle tips, and help for the final Kuro escape.
Ori and the Blind Forest Sorrow Pass Walkthrough & Map
Use this Ori and the Blind Forest sorrow pass guide to find every Keystone set, solve the laser puzzles, unlock Charge Jump, and reach the Sunstone safely.
Join the community
Game links and player communities: