
Ori and the Blind Forest Ginso Tree: Route and Escape
Master the Ori and the Blind Forest Ginso Tree with portal puzzle solutions, Bash tips, collectible reminders, and a clear route through the water escape.
Jump to
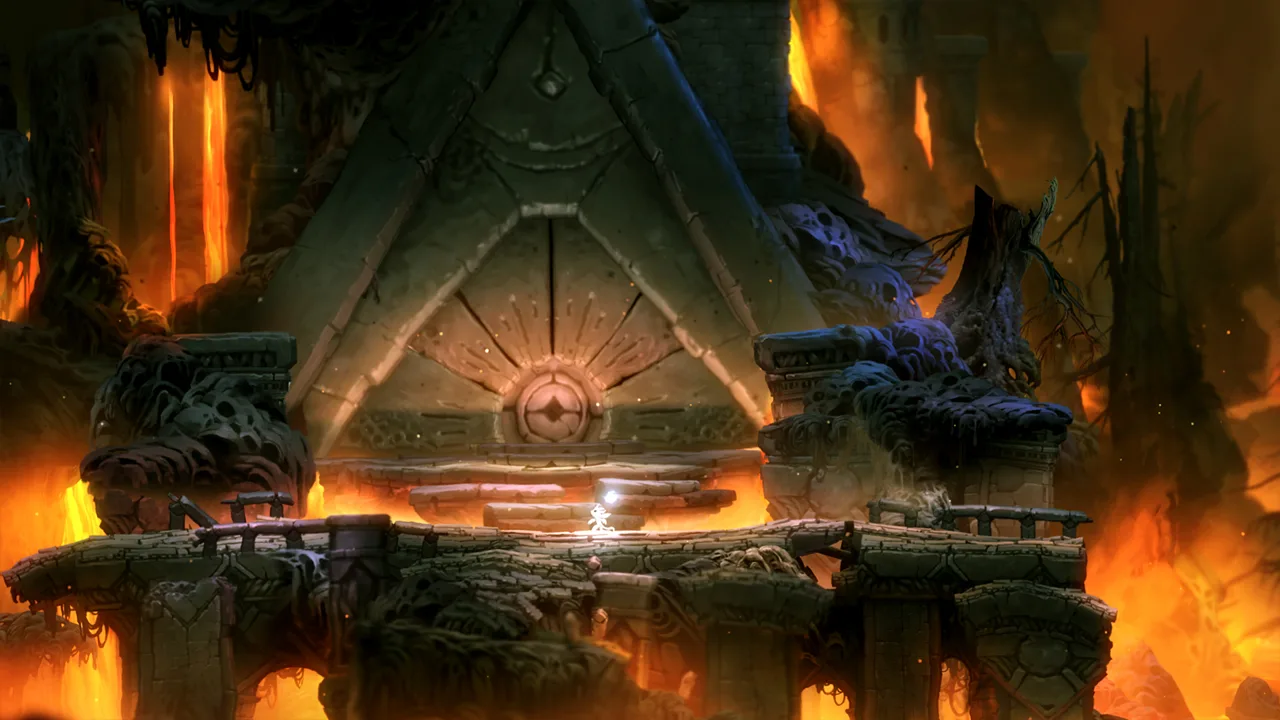
Ori and the Blind Forest Ginso Tree: The Route Up
The Ori and the Blind Forest Ginso Tree turns a climb through twisting portals into a desperate escape from rising water. Learning its routes matters because the same lanterns, enemies, and projectiles used in its puzzles become your way out. This Ori and the Blind Forest Ginso Tree walkthrough follows the climb in order, from the opening portals to Bash, the tree’s heart, and the final escape.
Your main objective is to reach the heart and restore the Element of Water. Along the way, you’ll move logs, redirect projectiles, collect Keystones, and learn Bash at an Ancestral Tree.
| Section | Objective | Key item or milestone |
|---|---|---|
| Lower portal rooms | Climb between connected chambers | Route toward the log puzzle |
| Log and projectile puzzle | Break wooden barriers | Access to the next chambers |
| Portal Keystone rooms | Collect four Keystones and open the door | Ancestral Tree and Bash |
| Upper chambers | Redirect shots and cross lantern routes | Another four-Keystone door and a Spirit Well |
| Heart and escape | Clear both sides, then climb above the flood | Restored Element of Water |
Completion warning for the original release: you cannot revisit the Ginso Tree after completing it. Collect optional items during the climb, use its Spirit Well, and plan any escape pickups before committing to their detours.
Read the route as a sequence of rooms rather than a continuous upward path. Portals frequently place Ori across the chamber, so an exit on the opposite side can still represent progress.
Official page: Ori and the Blind Forest (store.steampowered.com)
Navigate the Lower Portals and Log Puzzle
The opening of the Ori and the Blind Forest Ginso Tree teaches you to track portal exits while managing narrow landing spots. Before entering each portal, identify the platform or wall you want to reach afterward.

Climb through the opening chambers
- Enter the right portal. You’ll emerge on the left. Jump upward and across to the right, then continue through the portals that carry you higher.
- Reach the hanging blocks. Jump onto the hanging block and enter the first portal on the right. Use the three hanging blocks on that side to gain height.
- Take the highest right portal. Prepare to land on a hanging block when you emerge from the left portal.
- Continue toward the upper-left portal. Jump up and right, then use the highest portal on the left to advance.
- Cross the bounce-pad chamber. Bounce into the overhead portal, stay near the right wall to avoid spikes, and jump toward the center. Drop carefully through the gap between spikes to reach the left portal.
In the next bounce-pad section, the right portal provides access to energy, while the left portal continues the route. Refill if needed before moving on.
The following chamber combines portals with spike-lined drops. Pause on safe ground to trace the next landing. A portal entrance alone doesn’t tell you whether your exit will place you over a platform or a hazard.
Position the logs to break the barriers
The log puzzle changes the task from moving Ori to arranging a projectile route.
- Drop through the portal ahead and push the first log off the ledge to the right.
- Position that log beneath the fireballs so they are redirected into the wooden barrier on the left.
- Climb up and push the second log off its ledge.
- Push the second log through the lower-left portal. It appears on the ledge used for the first log.
- Position the second log beneath the central portal. The redirected fireball route should now break the barrier at center-left.
- Enter the center-left portal to reach the small crystal chamber, then leave through the upper-right portal.
| Puzzle element | What to do | Purpose |
|---|---|---|
| First log | Position it beneath the fireballs | Redirect shots into the left barrier |
| Second log | Push it through the lower-left portal | Move it onto the required ledge |
| Central portal | Arrange the second log beneath it | Complete the route to the center-left barrier |
| Crystal chamber | Enter after breaking the barrier | Continue through the upper-right portal |
Watch a projectile complete its route before moving either log again. Adjust the part where the shot goes off course instead of rearranging the entire setup.
Afterward, defeat the creature in the enclosed chamber. Its defeat opens the right-hand door, allowing you to continue.
Collect the Keystones and Learn Bash
The next stretch of the Ori and the Blind Forest Ginso Tree requires four Keystones before you can reach the Ancestral Tree.

In the opening Keystone chamber, dropping through the floor portal brings you out above. Use that connection to approach the platforms from the correct height.
- Drop into the floor portal and steer right toward the center platform.
- Drop down to collect the first Keystone, then double jump into the lower-right portal.
- From the upper exit, double jump toward the second Keystone.
- Drop through the lower portal again and steer back toward the center platform.
- Use the portal route upward, then take the upper-left portal into the next section.
- Collect the remaining two Keystones before opening the door at the upper right.
Keep track of the door’s full requirement as you move between chambers. The two early pickups are only part of the set.
Beyond the door, visit the Ancestral Tree to learn Bash. This ability launches Ori from lanterns, enemies, and enemy projectiles. When you Bash a projectile, Ori travels in your chosen direction while the projectile travels the opposite way.
That relationship drives the rest of the dungeon.
| Bash target | What it lets you do | Practical instruction |
|---|---|---|
| Lantern | Launch toward another platform or target | Aim for the next reachable landing |
| Enemy | Use the creature to gain height or cross space | Line up the route before launching |
| Enemy projectile | Move Ori and redirect the shot | Aim Ori opposite the shot’s intended destination |
| Projectile near a barrier | Break an obstruction | Align the redirected shot with the barrier or portal |
Immediately after learning Bash, use the lantern to reach the Spirit Light Container, then continue through the upper-left portal.
Practice distinguishing where Ori needs to go from where the projectile needs to go. If a shot must travel upward into a barrier, launch Ori downward. If the shot must enter a side portal, aim Ori away from that entrance.
Clear the Upper Chambers and Restore the Heart
Bash becomes the central tool in the upper Ori and the Blind Forest Ginso Tree. Fireballs now serve as both hazards and puzzle pieces.
 Image: Steam / Moon Studios GmbH
Redirect projectiles and check the side route
Continue upward until you reach the fireball-and-portal barriers. Bash a fireball through the portal so it strikes the wooden obstruction. Repeat the process for the barrier above the Spirit Light Container.
Before each attempt, follow the intended shot path: barrier, portal exit, portal entrance, then projectile. Working backward makes it easier to choose Ori’s launch direction.
There is also an Energy Cell detour. Break the left barrier with a redirected enemy projectile, then enter the left portal. You’ll emerge on the right, where you can collect the Energy Cell.
| Pickup or checkpoint | Location cue | Required action |
|---|---|---|
| Spirit Light Container | Just beyond the Bash Ancestral Tree | Launch from the lantern |
| Spirit Light Container | Beneath an upper wooden barrier | Redirect a fireball to break the obstruction |
| Energy Cell | Right-side area reached through a left portal | Break the left barrier with an enemy projectile |
| Four Keystones | Upper lantern chamber | Bash between lanterns to collect the set |
| Spirit Well | Beyond the projectile-firing miniboss | Enter the right-hand door and save |
These are useful landmarks for checking your route. In the original release, collect the Energy Cell before finishing the area.
Open the upper door and defeat the miniboss
The next lantern section contains another set of four Keystones. Use Bash to reach them, open the door at the top, and take the portal on the right.
In the miniboss chamber, redirect the creature’s projectiles back toward it. Position Ori so the returning shot has a clear path to the enemy, then Bash away from that path.
After the fight, go through the door on the right and save at the Spirit Well. Continue upward using the lantern to reach the heart.
Clear both sides of the heart
The heart requires work on both its left and right sides. Climb each side and redirect enemy projectiles into the upper barriers so you can reach and destroy the growth blocking the heart.
Finish both branches before expecting the restoration to complete. Once the heart is cleansed, the Element of Water is restored—and the escape begins.
Escape the Rising Water
The Ori and the Blind Forest Ginso Tree escape puts the climb’s movement lessons under pressure. Your tools are already familiar: wall jumps, lantern launches, enemies, and projectile Bashes.
Keep a steady upward rhythm and identify the next Bash target before leaving the current one.
The rising water makes every hesitation feel urgent. Focus on the next useful target rather than watching the flood below. When a lantern, enemy, or projectile is available, use it to reach the next part of the route.
Build a repeatable escape route
- Use the opening to establish your rhythm. Link jumps and Bashes deliberately instead of rushing into contact with enemies.
- Look beyond your current target. Choose the next lantern, wall, or projectile while lining up the present launch.
- Keep projectile direction in mind. Aim Ori toward the escape route when using a shot for movement.
- Plan optional pickups. Collect Spirit Light along a route you can execute consistently; avoid improvising a detour while the water rises.
- Review the failed transition. After a missed lantern or jump, adjust that launch direction on the next attempt.
If the same section keeps ending your run, isolate the action that fails. Did you leave the previous target at the wrong angle? Did you approach an enemy without lining up Bash? Did an optional pickup pull you away from the upward route?
Use the answer to change one transition. Repeating the same hurried inputs gives you little room to improve.
Extra health can help with damage, but reaching the next platform still depends on movement. Practice the Bash chains the tree has taught you, and take a break if repeated attempts turn into rushed launches.
Once you escape the Ori and the Blind Forest Ginso Tree, the route continues toward Thornfelt Swamp.
FAQ
Where do you get Bash in the Ori and the Blind Forest Ginso Tree?
You learn Bash at the Ancestral Tree after collecting the first set of four Keystones and opening the upper-right door. Bash lets you launch from lanterns, enemies, and enemy projectiles.
How do you solve the Ginso Tree log puzzle?
Position the first log to redirect fireballs into the left wooden barrier. Push the second log through the lower-left portal, then place it beneath the central portal to redirect a shot into the center-left barrier.
Where is the Ginso Tree Energy Cell?
In the upper section, use Bash to redirect an enemy projectile into the barrier on the left. Enter the left portal to emerge on the right and reach the Energy Cell.
Can you return to the Ginso Tree after escaping?
In the original release of Ori and the Blind Forest, you cannot return after completing the Ginso Tree. Collect its optional items and save at the Spirit Well during your visit.
Continue with
 Ori and the Blind Forest Map: Secrets and 100% GuideUse the Ori and the Blind Forest map to track Life Cells, Energy Cells, Map Stones, and hidden secrets, navigate Misty Woods, and plan your 100% cleanup.
More in Maps

Ori and the Blind Forest Forlorn Ruins: Puzzle Guide
Master Ori and the Blind Forest forlorn ruins with gravity puzzle solutions, Keystone routes, secret locations, and tips for escaping Kuro. Find your way.

Ori and the Blind Forest Misty Woods: Complete Guide
Ori and the Blind Forest misty woods guide: find all four Keystones, learn Climb, solve shifting paths, restore the lantern, and reach the Forlorn Ruins.

Ori and the Blind Forest Mount Horu: Map & Route Guide
Explore Ori and the Blind Forest Mount Horu with a room-by-room opening route, collectible checks, lava puzzle tips, and help for the final Kuro escape.

Ori and the Blind Forest Sorrow Pass Walkthrough & Map
Use this Ori and the Blind Forest sorrow pass guide to find every Keystone set, solve the laser puzzles, unlock Charge Jump, and reach the Sunstone safely.
Join the community
Game links and player communities: