
Ori and the Blind Forest Walkthrough: Story & Secrets
Use this Ori and the Blind Forest walkthrough to plan your route, manage Soul Links, track missable collectibles, and prepare for the Mount Horu escape.
Jump to

Prologue and Early Exploration: Build Your Foundation
This Ori and the Blind Forest walkthrough helps you follow the story’s major landmarks without leaving your collectibles behind. Saving carefully matters because a difficult platforming section can wipe out progress since your last checkpoint. Use this Ori and the Blind Forest walkthrough to organize your journey through Nibel, with special attention to the original game’s missable areas.
The route below covers major objectives and completion checkpoints. The original release has areas you cannot freely revisit, so finish each location’s collectible sweep before advancing beyond it.
| Early objective | What to do | What you gain |
|---|---|---|
| Complete the prologue | Follow the opening story | The Journey Begins achievement |
| Find Ancestral Trees | Interact with the trees that grant abilities | Abilities needed for progression |
| Reveal the map | Bring map fragments to a map stone | Additional map information |
| Collect Life and Energy Cells | Explore accessible side passages | Progress toward collectible achievements |
| Use Spirit Wells | Save when you reach a well | Restored Life and Spirit |
- Finish the prologue and follow the opening objectives. Let the initial journey introduce movement and exploration before chasing every distant pickup.
- Find Ancestral Trees as you explore. Their abilities are essential to progression. Keep these separate from the optional upgrades purchased through the Ability Tree.
- Collect reachable resources. Pick up Life Cells, Energy Cells, and ability pickups while checking nearby passages.
- Create Soul Links regularly. These checkpoints require energy. Save after clearing a demanding stretch rather than carrying all that progress into another hazard.
- Return to blocked paths after gaining abilities. An unreachable ledge does not mean you missed a hidden route nearby; additional movement abilities open previously inaccessible places.
Spend Ability Points with your current obstacle in mind. The Ability Tree has Utility, Efficiency, and Combat branches, with earlier upgrades required before later upgrades in a branch. Read those prerequisites before committing points toward a distant upgrade.
Prioritize exploration and movement upgrades if navigation is giving you trouble. Triple Jump is an optional Ability Tree upgrade, while essential progression abilities come from Ancestral Trees.
Early exploration checklist:
- Collect reachable Map Stone Fragments.
- Save at each Spirit Well you encounter.
- Revisit unfinished paths after obtaining new abilities.
- Check accessible side passages before leaving an area.
Optional Definitive Edition Detour
The Definitive Edition adds Black Root Burrows and Lost Grove. Black Root Burrows is a dark area guarded by a stone statue; Lost Grove is reached through it and requires a more developed ability set.
Explore these areas for their additional story, abilities, and cells. Keep this Ori and the Blind Forest walkthrough’s original-release warnings separate from that optional detour.
Official page: Ori and the Blind Forest (store.steampowered.com)
Ginso Tree: Clear the Heart and Prepare to Escape
Entering the Ginso Tree earns Rotten Inside. Cleansing its heart is the next major story milestone, associated with Run for Your Life.
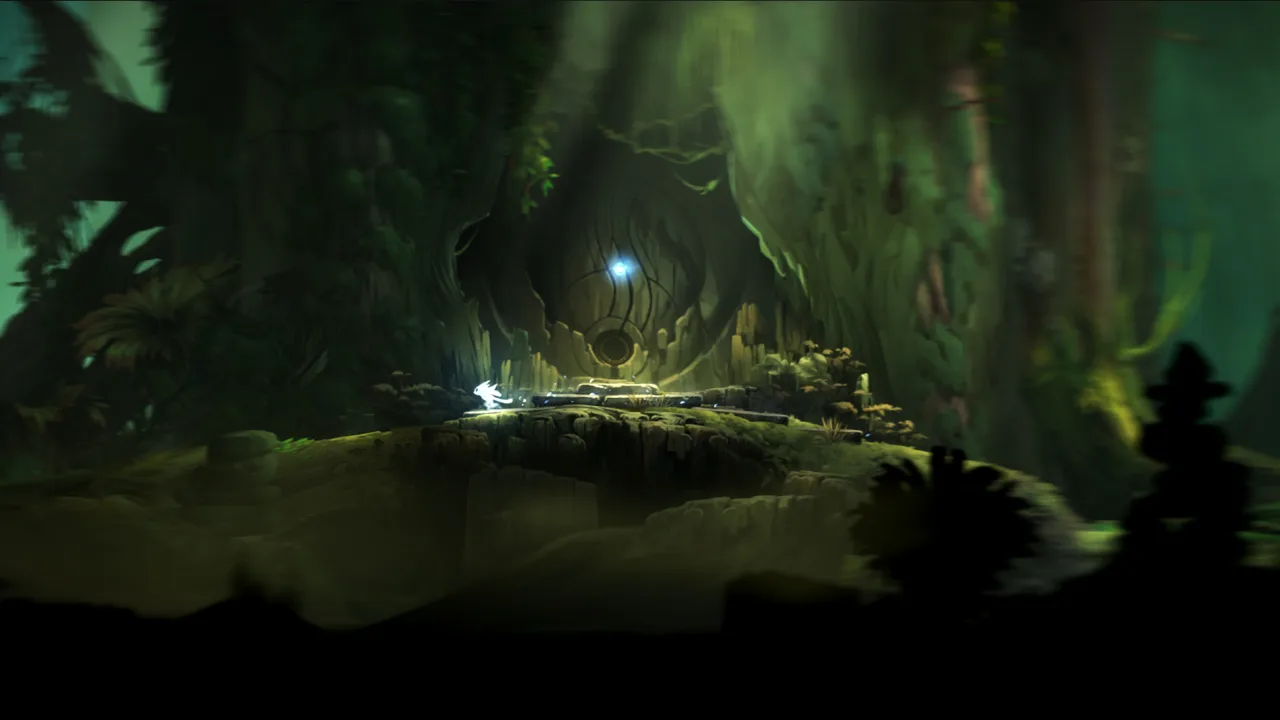 Image: Steam / Moon Studios GmbH
For this section of the Ori and the Blind Forest walkthrough, separate exploration from escape preparation. Search while you have room to investigate, then focus on movement when the dangerous sequence begins.
| Ginso Tree checkpoint | Objective | Completion reminder |
|---|---|---|
| Entrance | Enter the Ginso Tree | Earn Rotten Inside |
| Interior | Navigate the platforming route | Inspect accessible side spaces |
| Heart | Cleanse the tree’s heart | Reach the Run for Your Life milestone |
| Collectible sweep | Find secrets and an Energy Cell | Finish before leaving in the original release |
| Spirit Well | Save at the well | Count it toward Safe and Sound |
- Work through the interior deliberately. Watch how the portals connect spaces before committing to jumps. Use a failed attempt to identify the next landing rather than repeating the same movement unchanged.
- Search side spaces before advancing. The original release includes missable secrets and an Energy Cell here.
- Save at the Spirit Well. Passing through the area is separate from saving at its well, which matters for the Safe and Sound achievement.
- Cleanse the heart and tackle the escape. Concentrate on the next platforming action instead of trying to plan the entire sequence during a jump.
Bash is worth practicing whenever you have suitable targets. It launches Ori in your chosen direction while sending the target in the opposite direction. That interaction supports both traversal and projectile redirection.
Aim Ori toward a safe landing when using Bash for movement. When reflecting a projectile toward an enemy, account for the projectile traveling opposite Ori’s launch direction.
Missables to check:
- Secrets inside the Ginso Tree.
- The area’s Energy Cell.
- Saving at its Spirit Well.
Achievement hunters can also work toward Airborne, which requires five consecutive Double Jumps without touching the ground. The Ginso Tree’s portal setup offers an opportunity. Keep optional attempts separate from your main escape practice if they disrupt your rhythm.
Misty Woods: Clear the Haze and Search Again
The Misty Woods milestone is Obtaining Clarity, earned by clearing the haze. This chapter also needs special attention during an original-release collectible run because the mist-covered area contains missable pickups.
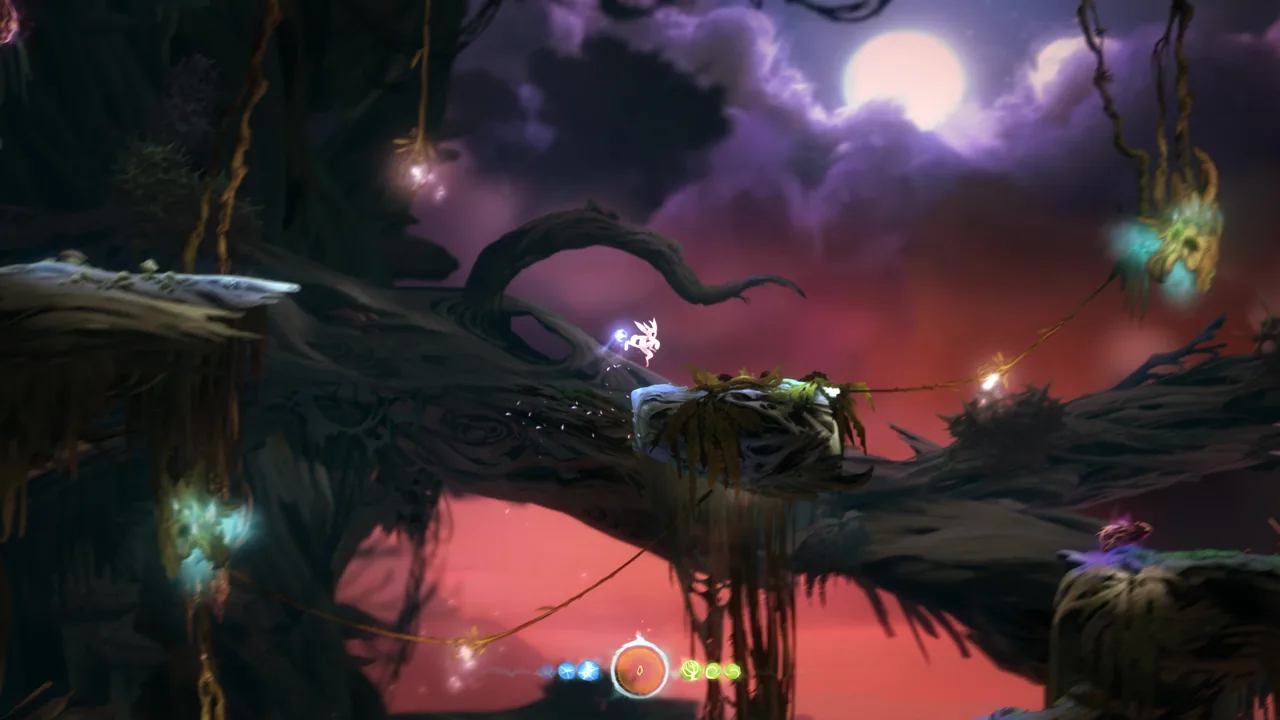 Image: Steam / Moon Studios GmbH
Use this part of the Ori and the Blind Forest walkthrough as a reminder to search during the woods’ different states. Clearing the haze and finding every secret are separate goals.
| Misty Woods task | What to focus on | Item or achievement |
|---|---|---|
| Explore during the mist | Inspect reachable side passages | Secrets and an Energy Cell |
| Clear the haze | Complete the area’s story objective | Obtaining Clarity |
| Search after clearing the haze | Find the lost corridor at the far-left end | Good Eye and an Ability Point |
- Explore side passages while the mist remains. Look for secrets and the Energy Cell before moving beyond this portion of the area.
- Follow the objective that clears the haze. Keep track of the route you have just traveled so you can distinguish unfinished exploration from familiar ground.
- Search again once the haze clears. Head to the far-left end of the location and look for the hidden corridor.
- Collect the Ability Point in that corridor. Finding the passage also earns Good Eye.
Keep map exploration, secret discovery, and collectible collection separate in your completion checks. Visiting an area does not automatically mean you found every hidden passage or collected every cell.
Before abandoning a difficult pickup, identify what stops you. If the obstacle is simply an awkward jump using abilities you already possess, practice from a nearby save. If you need another ability, remember the route for a later return wherever backtracking remains available.
Missables to check:
- Secrets available during the mist.
- The Energy Cell in the mist-covered area.
- The lost corridor after the haze clears.
Avoid treating the story achievement as your signal to stop searching. The post-haze corridor gives you a concrete reason to inspect the woods again before moving on.
Forlorn Ruins and Sorrow Pass: Restore the Winds and Climb
The next major milestones are restoring Nibel’s winds and climbing to the top of Nibel. These correspond to Solid Ground and Top of the world.
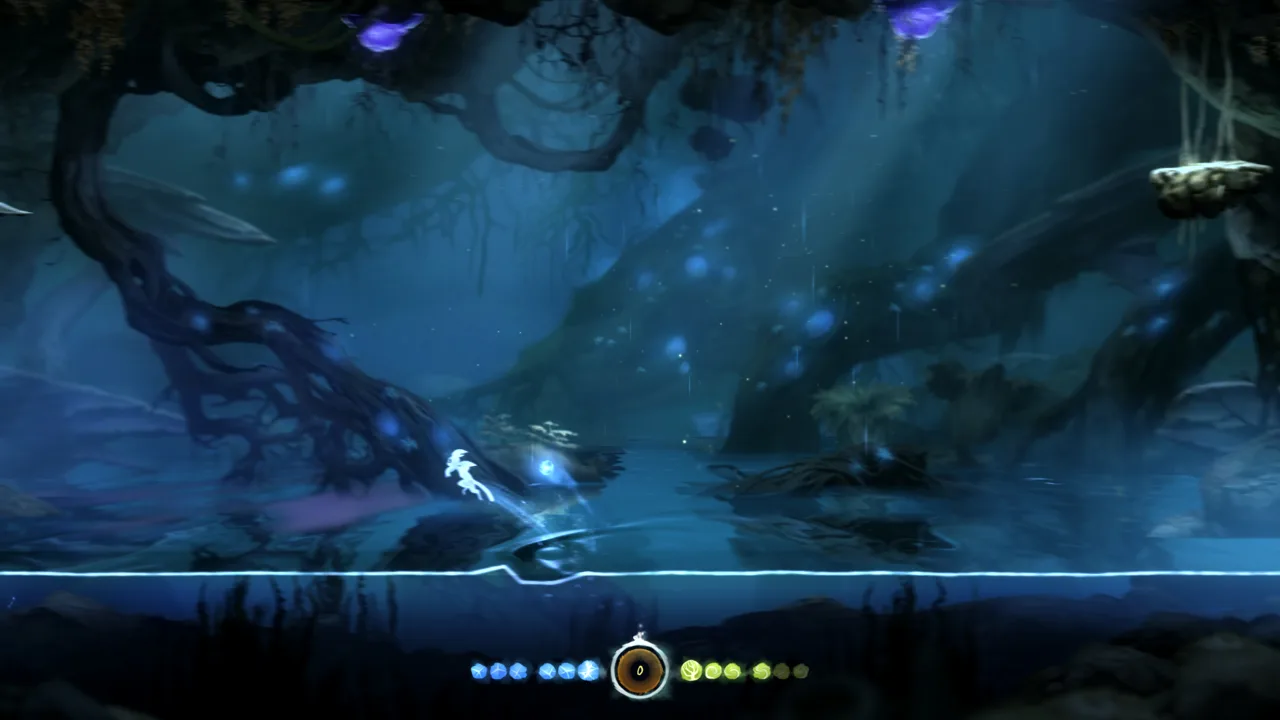 Image: Steam / Moon Studios GmbH
This stretch of the Ori and the Blind Forest walkthrough combines another original-release missable area with opportunities to practice aerial control. Finish the Forlorn Ruins sweep before committing to the next stage of the journey.
| Area or task | Main focus | Completion target |
|---|---|---|
| Forlorn Ruins | Search during the story visit | Secrets, collectibles, and its Spirit Well |
| Wind restoration | Complete the associated story objective | Solid Ground |
| Sorrow Pass | Continue the climb | Progress toward the top of Nibel |
| Movable rock challenge | Keep a rock airborne using Bash | Juggle Master |
| Summit milestone | Reach the top of Nibel | Top of the world |
- Inspect Forlorn Ruins before leaving. Search accessible side spaces and collect the items you find during the story visit.
- Save at the Spirit Well. This is another well that matters for an original-release Safe and Sound run.
- Restore the winds and continue the climb. Check your map between demanding sections and save after meaningful progress.
- Practice Bash during suitable aerial sections. Pay attention to Ori’s launch direction and the target’s opposite movement.
Sorrow Pass provides an opportunity for Juggle Master when you encounter a movable round rock. The achievement requires juggling a rock five times without letting it hit the ground.
Use Bash to send the rock upward, then jump and Bash it again while airborne. Keep it away from walls and the ceiling as well. Attempt this in an open space so you have room to correct its trajectory.
Missables and completion checks:
- Forlorn Ruins secrets and collectibles.
- Saving at the Forlorn Ruins Spirit Well.
- Unfinished map passages before heading toward Mount Horu.
If you are also pursuing combat achievements, check their requirements now. Deadly Deflection needs 25 kills with Bash-reflected projectiles, while Stomp Master requires 50 Stomp kills. Track those separately from ordinary combat so you know what remains before the final area.
Mount Horu: Finish Your Sweep Before the Finale
In the original release, entering Mount Horu cuts off your return to earlier regions. Complete your remaining exploration and achievement preparation before crossing that threshold.
Make this the final preparation stop in your Ori and the Blind Forest walkthrough. Check actual achievement requirements instead of relying on how complete the map looks.
| Completion goal | Requirement | Check before entry |
|---|---|---|
| Master Guardian | Collect all Health Cells | Review unfinished cell collection |
| Powerhouse | Collect all Energy Cells | Revisit accessible pickups |
| No Stone Unturned | Find all secrets | Search remaining hidden passages |
| World at Your Feet | Restore all Map Stones | Check unused fragments and unrestored stones |
| Master of the Forest | Visit 100% of the map | Inspect unexplored spaces |
| Safe and Sound | Save at every Spirit Well | Check wells you have visited |
- Sweep earlier regions before entering. Use your expanded movement abilities to revisit previously blocked passages.
- Review combat achievements you want to finish. For example, Flame Master requires 500 Spirit Flame kills, while Blast Master requires 100 Charge Flame kills.
- Enter Mount Horu when that preparation is complete. Entry earns Into the Fire.
- Search Mount Horu itself. It contains secrets and an Energy Cell, so your collectible run continues inside.
- Complete the remaining challenges and final escape. Focus on the movement sequence ahead and apply what each attempt teaches you.
Keep completion goals manageable. A full collectible sweep, a fast clear, and a deathless run place different demands on your playthrough.
Supersonic requires finishing in under three hours. Elite requires completing the game without spending an Ability Point, and Immortal requires completing it without dying. Elite still permits the essential abilities obtained through Ancestral Trees; its restriction concerns Ability Points.
Final missables checklist:
- Finish earlier-region exploration before entering Mount Horu in the original release.
- Collect Mount Horu’s secrets and Energy Cell.
- Check collectible achievements separately from map exploration.
Use this Ori and the Blind Forest walkthrough to establish a reliable route before attempting speed or deathless challenges. Familiarity with each platforming section gives those later runs a clearer purpose.
FAQ
Does this Ori and the Blind Forest walkthrough cover both editions?
It covers shared story landmarks and identifies the original release’s missable-area restrictions. Black Root Burrows and Lost Grove are additional areas in the Definitive Edition.
What is the difference between Ancestral Trees and the Ability Tree?
Ancestral Trees grant abilities needed for progression. The Ability Tree contains optional upgrades purchased with Ability Points across Utility, Efficiency, and Combat branches.
Should I create Soul Links or use Spirit Wells?
Use both. Create Soul Links to preserve progress between difficult sections when you have enough energy. Save at Spirit Wells when you reach them; they also restore Life and Spirit.
When should I finish collecting items in the original release?
Search the Ginso Tree, Misty Woods, and Forlorn Ruins during their story visits. Finish your remaining earlier-region cleanup before entering Mount Horu, then collect the items inside Mount Horu during the finale.
Continue with
 Ori and the Blind Forest Can You Play After Completion?Ori and the Blind Forest can you play after completion? Learn how saves influence backtracking, missable achievements, collectibles, and your 100% cleanup.
More in Guides

Ori and the Blind Forest Definitive Edition vs Original
Ori and the Blind Forest definitive edition vs original: compare new areas, abilities, fast travel, difficulty modes, and Steam extras before you choose.

Ori and the Blind Forest Difficulty: What to Expect
Understand Ori and the Blind Forest difficulty, choose your starting mode, manage Soul Links, and prepare for demanding platforming and escape sequences.
Ori and the Blind Forest How Long to Beat: Time Guide
Ori and the Blind Forest how long to beat: compare story, exploration, and 100% completion times for both editions, plus tips to plan a full playthrough.
Ori and the Blind Forest Speedrun: Routes and Tricks
Plan your Ori and the Blind Forest speedrun with beginner routing tips, All Skills skips, energy management, and practical advice for a faster finish.
Join the community
Game links and player communities: