
Ori and the Blind Forest Misty Woods: Complete Guide
Ori and the Blind Forest misty woods guide: find all four Keystones, learn Climb, solve shifting paths, restore the lantern, and reach the Forlorn Ruins.
Jump to

How to Get Through Misty Woods
The Ori and the Blind Forest Misty Woods route changes behind you, so retracing your steps can lead somewhere completely new. To finish Ori and the Blind Forest Misty Woods, collect four Keystones, learn Climb, retrieve the light, and carry it back to the Shrouded Lantern. Understanding those checkpoints keeps you moving when the missing map and shifting corridors make every turn feel familiar.
Your immediate objective is the unlit lantern near the entrance. You will pass it early, but reaching its light requires a longer trip through projectile corridors, disappearing plants, and spiked shafts.
| Route stage | Objective | Landmark or reward |
|---|---|---|
| Entrance | Find the unlit lantern, then continue left | Shrouded Lantern |
| Early shifting paths | Collect the first two Keystones | Changing return routes |
| Ancestral Tree | Learn the wall-gripping ability | Climb |
| Plant and laser sections | Collect the remaining two Keystones | Four Keystones total |
| Final chamber | Open the door and retrieve the light | Light for the lantern |
| Return journey | Carry the light right to the lantern | Cleared haze |
Reverse direction after collecting a Keystone or reaching a dead end. The passage behind you deserves another look because the forest can replace the route you just traveled.
Keep track of your current objective rather than trying to memorize the entire region. “Find the next Keystone” or “return from the Ancestral Tree” gives you a more useful checkpoint than remembering every branch.
Official page: Ori and the Blind Forest (store.steampowered.com)
Find the First Two Keystones and Learn Climb
The opening stretch of Ori and the Blind Forest Misty Woods introduces its navigation trick before adding the disappearing plant puzzles. Head left, use projectiles as Bash targets, and expect your return journey to reveal different terrain.
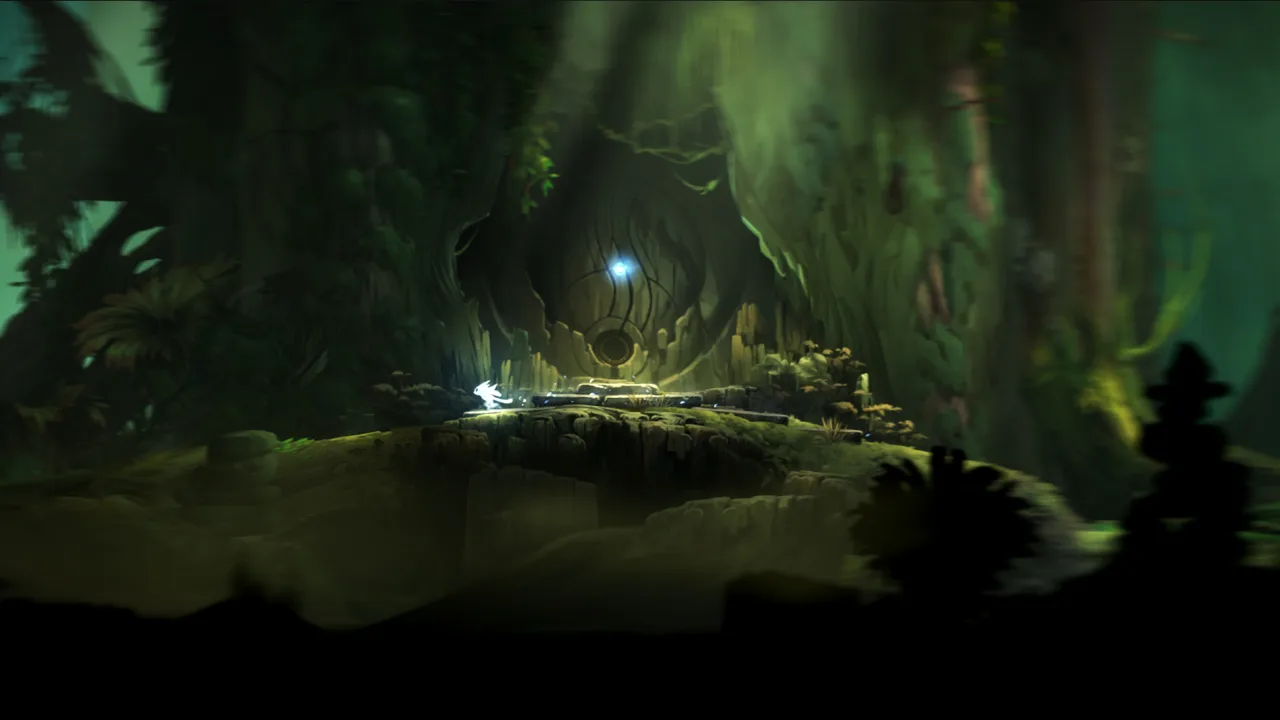 Image: Steam / Moon Studios GmbH
Reach the first Keystone
- Move left from the entrance. Stomp through the breakable log to collect a Spirit Light Container, then locate the Shrouded Lantern farther left.
- Continue past the lantern. Cross the projectile section. A hanging log and the branch above it lead to another Spirit Light Container.
- Pass through the tree trunk. Bash off incoming projectiles to navigate the confined passage.
- Climb the chasm. Use the bounce pad and projectile Bash targets, then glide left across the spikes.
- Continue left to the first Keystone. Before moving on, check the cave just beyond the spike crossing for another Spirit Light Container.
After collecting the Keystone in Ori and the Blind Forest misty woods, head right. The surroundings change, so follow the newly revealed passage instead of looking for an exact match to your outward route.
Collect the second Keystone
Continue right and glide down between the spikes. At the bottom, turn left to collect the second Keystone.
That branch ends there. Return right to trigger another change in the forest.
You will see Atsu’s Torch below during this stretch, but the route does not let you reach it yet. Continue right to the dead end, then reverse left. This opens the next part of the journey.
Reach the Ancestral Tree
Jump across the spikes and descend while avoiding projectiles from enemies embedded in the walls. Watch the left side during the descent for a hidden opening.
At the bottom, run left and climb through the walls occupied by pink slimes. Continue upward, then turn right. The route takes you over spikes, beneath a tree, and down through another narrow spike passage.
Turn left at the end to reach the Misty Woods Ancestral Tree and learn Climb.
Before leaving this stretch, check these optional pickups:
- The Spirit Light Container beneath the entrance log.
- The container above the hanging log.
- The cave beyond the early spike crossing.
- The hidden opening on the left during the projectile-filled descent.
Solve the Plant Walls and Collect the Remaining Keystones
After learning Climb, head right. Ori and the Blind Forest Misty Woods now combines shifting terrain with plants that appear and disappear when you jump.
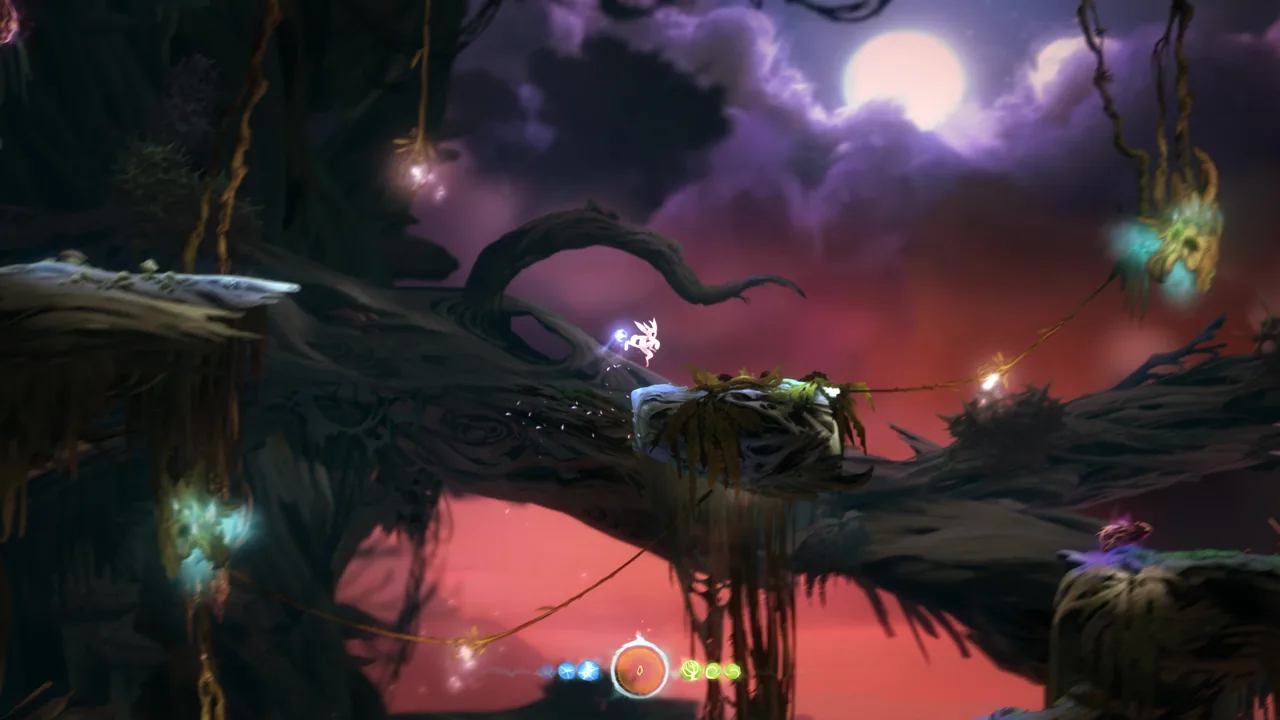 Image: Steam / Moon Studios GmbH
Sparkles rising from spikes mark places where a climbable plant can appear. Jump toward the sparkles when the plant is absent. Another jump changes its state again, so repeated jumping can remove the surface you wanted to grab.
Pause before each jump and identify the next surface. Use Climb to hold your position while checking the route ahead.
| Obstacle | Mechanic | What to do |
|---|---|---|
| Sparkling spike wall | A plant appears when you jump toward it | Jump from the absent state and grab the plant |
| Consecutive plant walls | Jumping changes which surfaces are available | Check the next landing before leaving your grip |
| Narrow spiked shaft | Plants provide climbable surfaces | Work upward while watching the spikes |
| Laser crossing | Plant surfaces support the route between pillars | Coordinate your jumps with the beams |
| Spiked descent | The passage requires controlled gliding | Steer through the gaps toward the bottom |
Reach the third Keystone
Climb the first plant wall and continue right. The next section asks you to move between plants toward the upper-right exit.
Keep ascending through the spiked chasm, using the plants to gain height. Another plant-filled cavern follows. Work toward its upper-right corner to collect the third Keystone.
Glide back down and left afterward. The forest changes again, opening the route toward the lasers.
Cross the lasers and find the fourth Keystone
At the laser section, pay attention to both the beams and the changing plants. Plan the landing before committing to a jump, and keep clear of the active beams.
Cross to the first plant, move onto the central pillar, then use a large double jump to reach the next pillar. Continue to the far wall.
In the following cavern, the plants form a ramp. Follow them, then glide down the long spiked tunnel.
At the bottom, Bash between the hanging lanterns toward the upper right to reach the fourth Keystone. There is also a Spirit Light Container inside the central tree; use a lantern Bash to reach it before leaving.
Your progress check here is straightforward: you should have Climb and all four Keystones. The next objective is the door guarding the light.
Open the Door and Restore the Shrouded Lantern
With every Keystone collected, Ori and the Blind Forest Misty Woods sends you through another sequence of projectile jumps and moving plants before the return trip.
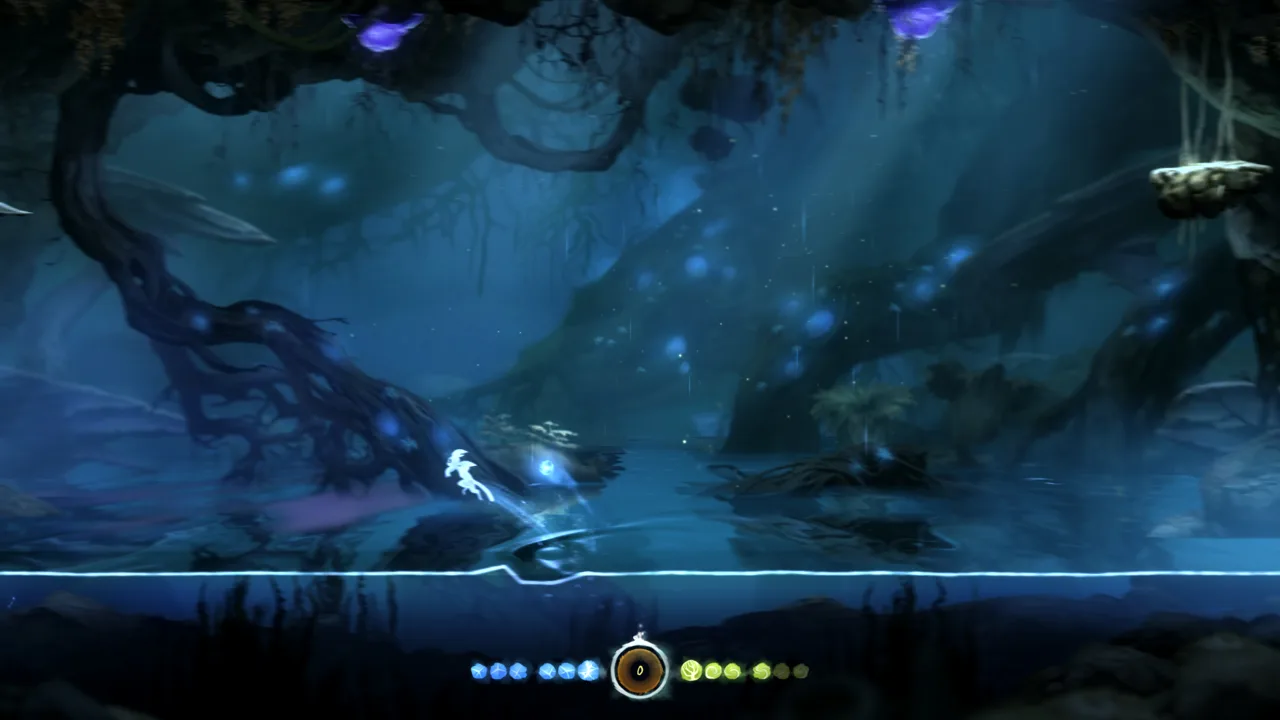 Image: Steam / Moon Studios GmbH
Head left from the fourth Keystone. When the forest changes, use the projectile fired by the creature above you to Bash upward.
Follow the route right and carefully climb the spiked chasm. Continue upward and right, then drop into the cavern filled with fireballs. Bash off those fireballs to cross the gaps and clear the spikes.
At the next vertical passage, another projectile provides the lift needed to reach the top. Grab the moving plant platform, transfer to the plant above it, and head left.
Continue left until you reach the encounter with the jumping creature. Defeat it, spend the four Keystones at the door, and collect the light beyond.
| Checkpoint | Required action | Next direction |
|---|---|---|
| Fourth Keystone collected | Return through the changed passage | Left, then upward using Bash |
| Fireball cavern | Bash across the spikes and gaps | Upward and right |
| Moving plants | Transfer between the moving surfaces | Up, then left |
| Keystone door | Defeat the jumping creature and use four Keystones | Through the door |
| Light collected | Carry it back while avoiding projectiles | Right toward the lantern |
Carry the light all the way back
Holding the light prevents you from using special abilities. Give yourself room to avoid incoming attacks during the return journey.
Move right toward the Shrouded Lantern, watching the projectile paths as you go. Place the light into the lantern to clear the haze and complete the area’s central objective.
Collecting the light and placing it in the lantern are separate steps. If you have reached the light chamber but the woods still shift, finish the delivery before looking for the exit.
Clearing the haze unlocks Obtaining Clarity. Afterward, the forest stops changing, making the return toward the entrance easier to follow.
Find Secrets and Leave for the Forlorn Ruins
Before leaving Ori and the Blind Forest Misty Woods, separate your optional exploration from your next story objective. The hidden corridor belongs to the woods; the route toward the Forlorn Ruins begins back outside.
Check the hidden corridor
After clearing the haze, explore the far-left end of Misty Woods for the concealed corridor. Entering it unlocks Good Eye, and a skill point waits inside.
For collectible hunting, use landmarks rather than trying to match every passage to a fixed map during the shifting sequence.
| Pickup or secret | Location landmark | Access detail |
|---|---|---|
| Spirit Light Container | Breakable log near the entrance | Stomp through the log |
| Spirit Light Container | Branch above the hanging log | Jump up from the log |
| Spirit Light Container | Cave just beyond the early spikes | Drop into the cave |
| Hidden opening | Left wall during the descent before Climb | Steer left while gliding |
| Spirit Light Container | Central tree near the fourth Keystone | Bash upward from a lantern |
| Good Eye corridor | Far-left end after clearing the haze | Enter the concealed passage |
Check optional openings as you encounter them during the shifting section. Restoring the lantern changes the area’s layout, so postpone fewer detours if you are working toward a completion run.
Exit right, then descend outside
Once the lantern is restored, head right out of Misty Woods toward the large open chasm where Kuro guarded the entrance.
From there:
- Descend to the bottom of the chasm.
- Head right until you reach a lever.
- Activate the lever to open the route near the thorns.
- Return toward the opening and take the path down and left toward the Forlorn Ruins.
The direction change matters: you travel right to reach the lever, then turn back toward the newly opened route. Continuing right alone will not follow that sequence.
If you feel lost, return to the last landmark you recognize and check your objective. Four Keystones lead to the light; the light goes into the lantern; the exit leads right to the outside chasm.
FAQ
Why is the map unavailable in Ori and the Blind Forest Misty Woods?
The mist hides the map during the shifting section. Paths change as you progress, so use Keystones, the Ancestral Tree, and the Shrouded Lantern as navigation checkpoints. Recheck the route behind you after major pickups and dead ends.
How many Keystones do you need in Misty Woods?
You need four Keystones to open the door guarding the light. Collect the first two before learning Climb, then obtain the remaining two through the plant-wall and laser sections.
How do you use the disappearing plants after learning Climb?
Watch for sparkles above the spikes. Jump toward them when the plant is absent to make a climbable surface appear. Another jump changes its state again, so check the next plant before moving.
Where do you go after restoring the Shrouded Lantern?
Exit Misty Woods to the right and return to the open chasm where Kuro guarded the entrance. Descend, head right to the lever, then follow the opened passage down and left toward the Forlorn Ruins.
Continue with
 Ori and the Blind Forest Mount Horu: Map & Route GuideExplore Ori and the Blind Forest Mount Horu with a room-by-room opening route, collectible checks, lava puzzle tips, and help for the final Kuro escape.
More in Maps

Ori and the Blind Forest Forlorn Ruins: Puzzle Guide
Master Ori and the Blind Forest forlorn ruins with gravity puzzle solutions, Keystone routes, secret locations, and tips for escaping Kuro. Find your way.

Ori and the Blind Forest Ginso Tree: Route and Escape
Master the Ori and the Blind Forest Ginso Tree with portal puzzle solutions, Bash tips, collectible reminders, and a clear route through the water escape.

Ori and the Blind Forest Map: Secrets and 100% Guide
Use the Ori and the Blind Forest map to track Life Cells, Energy Cells, Map Stones, and hidden secrets, navigate Misty Woods, and plan your 100% cleanup.
Ori and the Blind Forest Sorrow Pass Walkthrough & Map
Use this Ori and the Blind Forest sorrow pass guide to find every Keystone set, solve the laser puzzles, unlock Charge Jump, and reach the Sunstone safely.
Join the community
Game links and player communities: