
Ori and the Blind Forest Mount Horu: Map & Route Guide
Explore Ori and the Blind Forest Mount Horu with a room-by-room opening route, collectible checks, lava puzzle tips, and help for the final Kuro escape.
Jump to

How to Navigate Mount Horu
Ori and the Blind Forest Mount Horu puts lava, moving platforms, and tightly timed jumps between you and the finale. Understanding the chamber layout helps you find the next objective without repeatedly checking blocked passages. This Ori and the Blind Forest Mount Horu guide walks through the opening rooms, highlights nearby collectibles, and explains a crucial cover stop during the final Kuro escape.
Mount Horu has eight gates leading to separate challenge rooms. Initially, only the upper two gates are accessible. Completing room objectives stops lava flows and opens access to gates farther down the central chamber.
Climb to the top before trying to work downward. You can tackle either of the upper two rooms first; the sequence below starts with the room containing a stone mechanism, then moves to the platform-and-switch room.
| Route segment | Objective | Landmark |
|---|---|---|
| Approach to Mount Horu | Collect nearby upgrades and continue toward the mountain | Projectile enemies and a movable rock |
| Upper chamber | Reach the accessible gates | Rotten Beetle near a breakable wall |
| Opening stone room | Reach and examine the stone | Map Stone Fragment and Energy Cell |
| Opening platform room | Operate switches and traverse platforms | Charge Jump and Stomp sections |
| Next accessible rooms | Clear enemies and solve the laser-and-rock challenge | Sentry Stones, laser, and lava pit |
The room walkthrough follows Definitive Edition. If you are playing the original 2015 release, entering Mount Horu prevents you from returning to the rest of Nibel. Finish your outside collectible sweep before crossing that threshold.
Official page: Ori and the Blind Forest (store.steampowered.com)
Approach Collectibles and the Climb
Before committing to the Ori and the Blind Forest Mount Horu route, check the approach for upgrades. This stretch includes an Energy Cell, an Ability Cell, and a hidden Spirit Light Container.

Use Bash on enemy projectiles to reach the elevated route. Remember that Ori travels in your selected direction while the projectile travels the opposite way. Choose Ori’s landing point before releasing Bash, especially when several hazards compete for your attention.
Follow this approach sequence:
- Bash off projectiles to reach the Energy Cell. Check the nearby route before moving onward.
- Use Charge Flame at the breakable obstruction. Keep the required ability in mind when examining the passage.
- Push the movable rock onto the unstable surface below. The rock breaks through that surface.
- Collect the hidden Spirit Light Container. This location also counts as a secret area.
- Pick up the Ability Cell, then backtrack to continue toward Mount Horu.
| Pickup | Position along the approach | Action |
|---|---|---|
| Energy Cell | Along the projectile-assisted route | Use Bash to reach it |
| Spirit Light Container | Beyond the unstable surface | Push the rock through the surface |
| Ability Cell | Farther along the approach detour | Collect it before backtracking |
Treat the detour as a separate checklist from the mountain interior. An Energy Cell collected outside Mount Horu does not replace the one inside the opening stone room.
Once inside, head upward through the central chamber. Use Bash on the Rotten Beetle to break the wall along the climb. Watch both trajectories: your movement and the enemy’s movement serve different purposes.
At the top, identify the two accessible entrances. Match them to their puzzle layouts rather than assuming every doorway is already available.
Upper Rooms: Stone Mechanism and Moving Platforms
The opening rooms introduce the pattern used throughout the Ori and the Blind Forest Mount Horu dungeon: enter a side chamber, complete its obstacle sequence, resolve its mechanism, and return to inspect the central route.

Opening Stone Room
This room on the Ori and the Blind Forest mount horu route combines progression with several collectible checks. Give the side paths attention before leaving.
- Collect the Spirit Light Container.
- Find the Map Stone Fragment in its secret area.
- Continue to the stone and examine it.
- Check the secret containing the Energy Cell.
- Exit to the central chamber and head toward the other upper entrance.
The fragment and Energy Cell occupy separate secret locations. Keep both on your checklist so that finding one does not send you straight toward the exit.
| Location | Item or interaction | Completion check |
|---|---|---|
| Opening stone room | Spirit Light Container | Collect the container |
| Secret inside the stone room | Map Stone Fragment | Visit the fragment’s hiding place |
| Stone mechanism | Examine the stone | Complete the room interaction |
| Separate secret inside the stone room | Energy Cell | Collect the capacity upgrade |
| Central route after the platform room | Map Stone | Activate it |
Avoid relying on secret numbers from another map. A location description—such as “Energy Cell inside the opening stone room”—is easier to match to your current position than a number without its original map.
Opening Platform Room
Here, the switch sequence matters as much as the jumps. Read the movement of the floating platform before committing.
- Operate the switch to bring the floating platform toward you.
- When the platform reaches you, operate the switch again.
- Immediately jump onto it.
- Quickly use Charge Jump to reach the second platform.
- Use Stomp at the next required point.
- Jump onto the following platform and operate its switch.
- Leave the room and continue to the Map Stone.
Think of the opening maneuver as one connected sequence: switch, arrival, switch again, boarding jump, Charge Jump. If you hesitate after changing the switch a second time, you can lose the position needed for the transfer.
Before the next attempt, decide where you will stand and which platform you will jump toward. Focus on making the boarding jump deliberate rather than trying to correct everything during the transfer.
After leaving, activate the Map Stone on the central route. Its location also counts as a secret area. Then continue toward the next accessible challenge room.
Next Rooms: Sentry Stones, Lasers, and the Rock
The next part of the Ori and the Blind Forest Mount Horu route shifts from platform timing to a combat gate, followed by a movement challenge involving a laser and a movable rock.
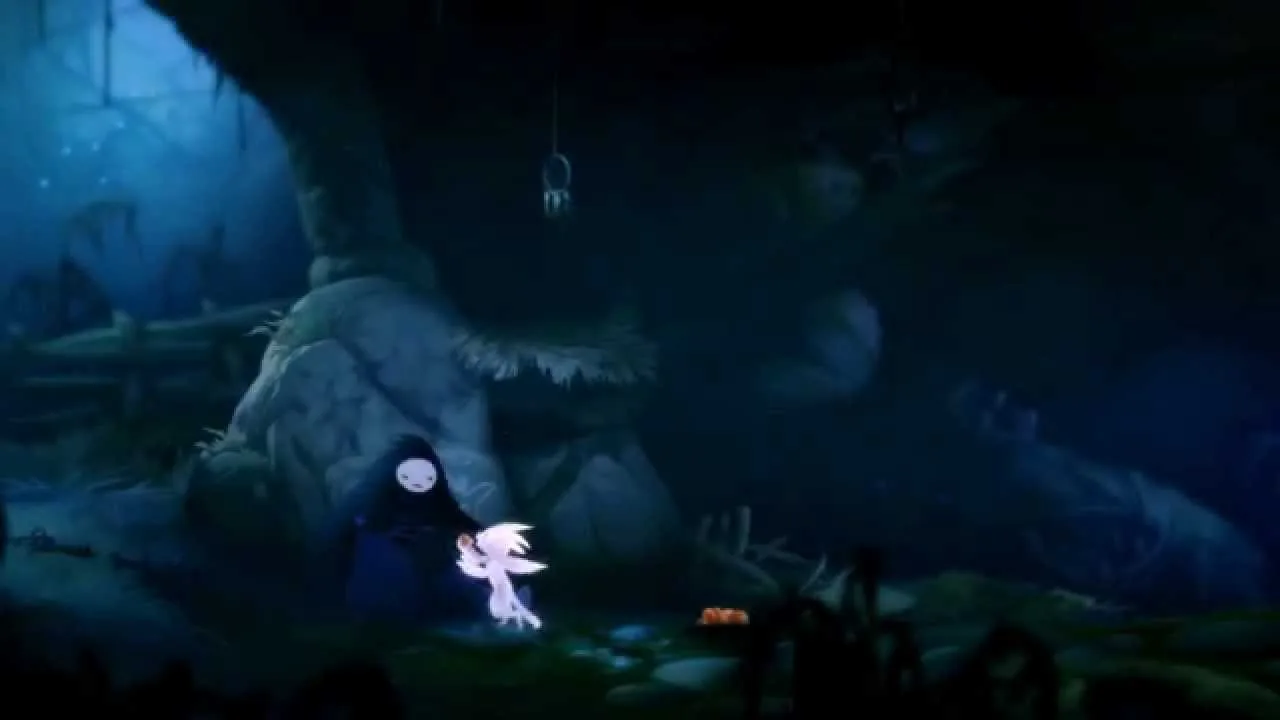
Sentry Stone Room
The doors here depend on defeating enemies.
- Destroy the first Sentry Stone in front of you to open the initial door.
- Continue through the room and defeat the remaining Sentry Stones.
- Once they are all destroyed, proceed through the upper door.
- Use Stomp at the required point.
- Exit and return to the central chamber.
If the upper door remains closed, sweep the room for a surviving Sentry Stone before attempting another route. The relevant objective is clearing the enemies.
Keep combat and navigation separate in your attention. Finish the enemy-clear objective, locate the opened passage, and then line up the movement needed to reach it. Rushing toward the upper exit while enemies remain only adds distraction.
Laser-and-Rock Room
This room asks you to move promptly after using Stomp.
- Use Stomp at the opening mechanism.
- Run right, staying ahead of the laser.
- Use Charge Jump, followed by Double Jump, to reach the rock.
- Push the rock until it reaches the lava pit.
- Exit the room and continue toward the next gate.
You can also use Stomp near the rock to move it faster. Keep that option in mind if pushing feels slow, but concentrate on placing the rock at the pit.
| Obstacle | Required action | Tip |
|---|---|---|
| Initial closed door | Defeat the first Sentry Stone | Clear the enemy before moving onward |
| Upper combat-room door | Defeat all remaining Sentry Stones | Check for survivors if it stays closed |
| Laser section | Run right, then Charge Jump and Double Jump | Plan the jump sequence before starting |
| Movable rock | Push it to the lava pit | Use nearby Stomp to move it faster |
After finishing these opening rooms, return your attention to the central chamber. Look for passages exposed by the receding lava and continue through the newly accessible gates.
Collectible Checks and the Final Kuro Escape
Keep exploration and escape preparation distinct during your Ori and the Blind Forest Mount Horu run. The side rooms reward careful checking; the Kuro sequence demands timely movement and attention to cover.
Check Newly Exposed Ground
Before moving deeper, review the locations already passed:
- The Energy Cell, Spirit Light Container, and Ability Cell on the approach.
- The Spirit Light Container inside the opening stone room.
- The Map Stone Fragment and Energy Cell in that room’s secret areas.
- The Map Stone reached after the opening platform room.
Farther down Mount Horu, revisit the lowest right-hand challenge room after its lava recedes. Check the newly exposed lower area containing Spirit Light. Do not focus exclusively on the upper path when the changing lava level reveals ground below.
Keep map exploration and secret collection as separate goals. Visiting the map’s visible spaces and finding every secret are different achievement requirements. A nearly complete map should prompt a targeted check of hidden areas rather than an assumption that every collectible is already collected.
Make Stomp Consistent
The final escape includes a floor-breaking Stomp that can become a repeated stumbling block.
Before concentrating on the entire chase, practice that action in a safe location. Check your configured controls and make sure you can trigger Stomp reliably. If the move repeatedly fails to activate, investigate the input before trying to compensate with faster movement.
During retries, isolate the obstacle that ended the attempt. Work on the opening Stomp until it feels consistent, then shift your attention to the next movement sequence. Trying to solve every later jump while still struggling with the opening action makes the run harder to read.
Use Cover During the Final Updraft
Near the end of the Kuro escape, the upward wind stream presents a specific trap: trying to rise through it in one uninterrupted ascent.
Stop behind the cover on the right to break Kuro’s line of sight, then continue upward. Build that stop into your route instead of treating it as a last-second correction.
Approach each retry with one clear adjustment. If the ascent ended the previous attempt, focus on reaching the right-hand shelter before continuing. If Stomp caused the failure, concentrate on its activation and timing.
Switching to an easier difficulty does not remove instant-death platforming hazards. Keep working on the movement sequence and cover timing rather than expecting a difficulty change to make those obstacles harmless.
FAQ
How does the Ori and the Blind Forest Mount Horu gate system work?
Mount Horu has eight challenge-room gates. Only the upper two are initially accessible. Complete room objectives to stop lava flows and gain access to gates lower in the central chamber. You can begin with either upper room.
Can you leave Mount Horu in the original game?
In the original 2015 release, entering Mount Horu cuts off your return to the rest of Nibel. Complete outside exploration and collectible cleanup before entering, particularly if you are pursuing completion achievements.
Where are the early Mount Horu collectibles?
The approach contains an Energy Cell, a hidden Spirit Light Container, and an Ability Cell. Inside the opening stone room, check for another Spirit Light Container, a Map Stone Fragment, and an Energy Cell. Activate the Map Stone after the opening platform room.
How do you survive the final Kuro updraft?
Use the cover on the right to interrupt Kuro’s line of sight before continuing up the wind stream. Avoid attempting the entire ascent without that stop. Practice the earlier floor-breaking Stomp separately if it keeps ending your escape attempts.
Continue with
 Ori and the Blind Forest Sorrow Pass Walkthrough & MapUse this Ori and the Blind Forest sorrow pass guide to find every Keystone set, solve the laser puzzles, unlock Charge Jump, and reach the Sunstone safely.
More in Maps
Ori and the Blind Forest Forlorn Ruins: Puzzle Guide
Master Ori and the Blind Forest forlorn ruins with gravity puzzle solutions, Keystone routes, secret locations, and tips for escaping Kuro. Find your way.
Ori and the Blind Forest Ginso Tree: Route and Escape
Master the Ori and the Blind Forest Ginso Tree with portal puzzle solutions, Bash tips, collectible reminders, and a clear route through the water escape.
Ori and the Blind Forest Map: Secrets and 100% Guide
Use the Ori and the Blind Forest map to track Life Cells, Energy Cells, Map Stones, and hidden secrets, navigate Misty Woods, and plan your 100% cleanup.

Ori and the Blind Forest Misty Woods: Complete Guide
Ori and the Blind Forest misty woods guide: find all four Keystones, learn Climb, solve shifting paths, restore the lantern, and reach the Forlorn Ruins.
Join the community
Game links and player communities: