
Ori and the Blind Forest Sorrow Pass Walkthrough & Map
Use this Ori and the Blind Forest sorrow pass guide to find every Keystone set, solve the laser puzzles, unlock Charge Jump, and reach the Sunstone safely.
Jump to
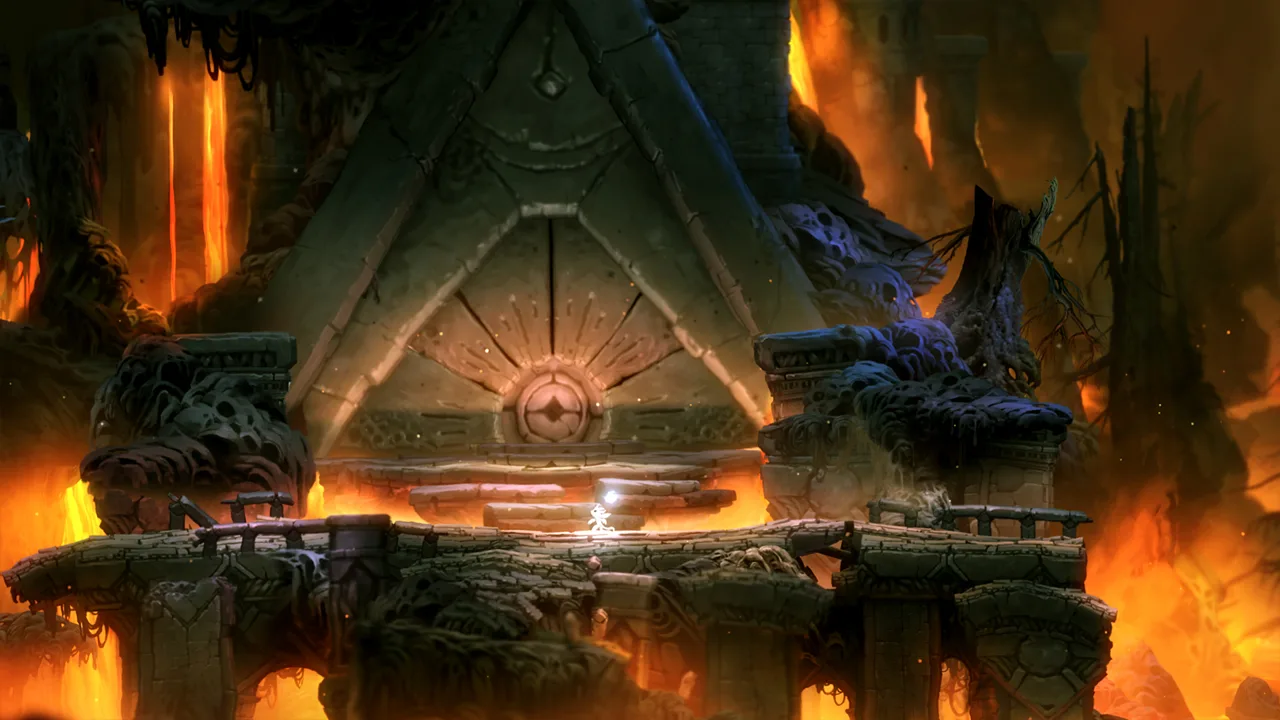
Ori and the Blind Forest Sorrow Pass: Route Overview
Ori and the Blind Forest Sorrow Pass puts lasers, spikes, and hidden Keystones between you and the Sunstone. Knowing which passage to search—and which object to Bash—helps you avoid repeating its demanding climbs. This Ori and the Blind Forest Sorrow Pass walkthrough follows the route through the Map Stone, three Keystone gates, Charge Jump, and the final ascent.
Your main objective is to reach the Sunstone at the top. Along the way, you’ll redirect enemies, move round stones into laser beams, and open barriers that let the wind carry you higher.
| Route landmark | Main objective | Key item or reward |
|---|---|---|
| Entrance cavern | Reach the fragment and restore the Map Stone | Revealed area map |
| Lower passages | Collect four Keystones and open the gate | Access to the next climb |
| Laser chasm | Gather another four Keystones and reposition stones | Route through the laser puzzle |
| Upper spike passages | Collect the final four Keystones | Access to the Ancestral Tree |
| Ancestral Tree and Spirit Well | Learn Charge Jump and break through barriers | Charge Jump and Spirit Well access |
| Main chasm summit | Release the upward airflow | Sunstone |
Keep the three Keystone groups separate as you navigate. Each gate takes four, so check the surrounding passages before trying to push higher.
Bash direction matters throughout this area: Ori travels in the direction you aim, while the targeted projectile or enemy travels the opposite way. When you need something to hit a wall, plan its trajectory alongside your escape route.
Official page: Ori and the Blind Forest (store.steampowered.com)
Restore the Map Stone and Open the Lower Gate
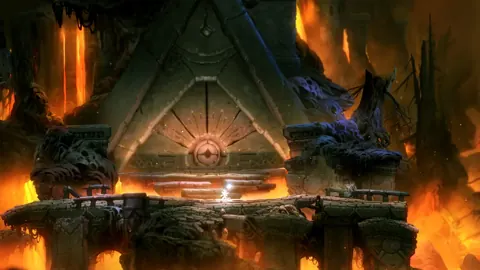
Begin the Ori and the Blind Forest Sorrow Pass climb by floating upward. The path to the right has an energy door requiring four Energy Cells. There’s also another entrance farther up on the right, though that approach involves more difficult platforming.
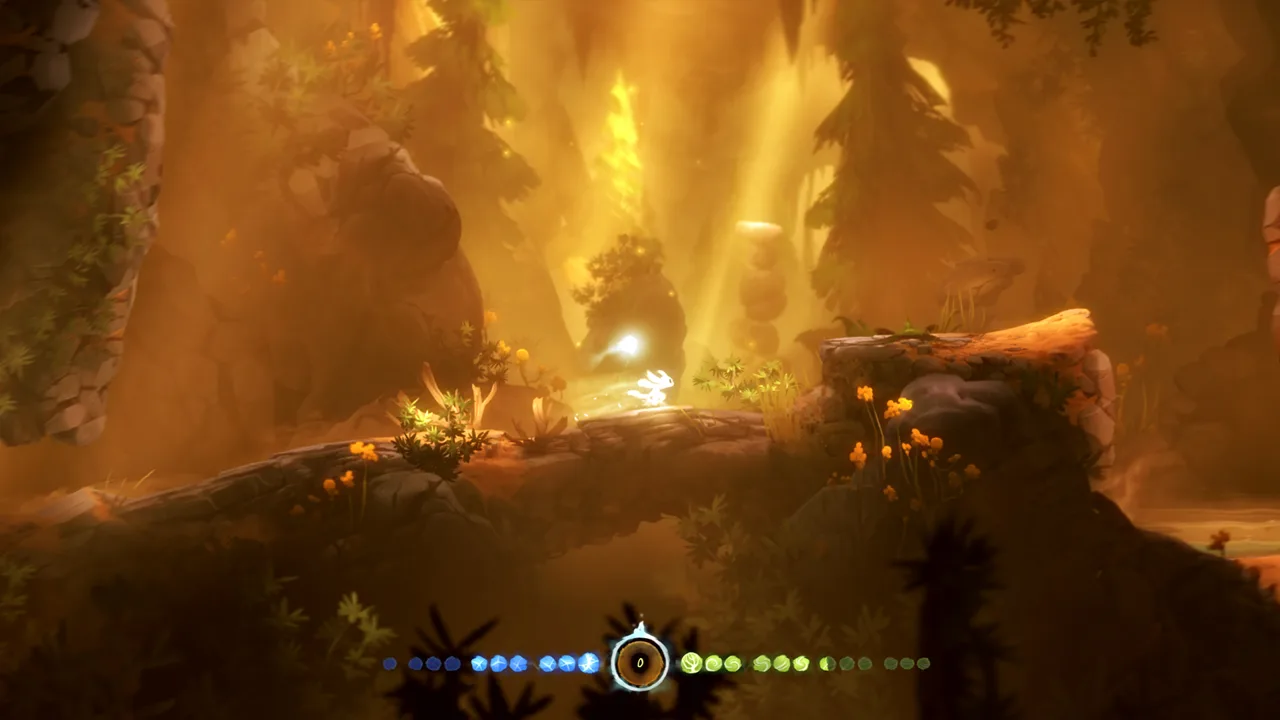 Image: Steam / Moon Studios GmbH
Reach the Map Stone Fragment
- Take the right-hand entrance and work around the cavern, jumping and using Bash to climb.
- Head toward the cavern’s upper-left section.
- Bash off the boulders to reach the Map Stone Fragment.
- Drop back down and Stomp through the barrier.
- Insert the fragment into the Map Stone.
Handle the map before searching the lower branches. It gives you a clearer view of the area while you work through the Keystone hunt.
Next, Stomp through the barrier on the left and descend. The four Keystones are spread between the nearby air currents, a hidden passage, and a sloping laser corridor.
| Keystone | Where to go | What to do |
|---|---|---|
| First | Air current below the left barrier | Float upward to collect it |
| Second | Down and left from the first pickup | Descend into the lower passage |
| Third | Farther left, then upward | Enter the hidden area |
| Fourth | Right, then down through the sloping laser corridor | Float down and left to the corridor’s end |
The fourth Keystone requires a longer descent. Follow the sloping passage all the way down and left, then return upward toward the secret containing the third Keystone.
Break the Wall With the Pink Slime
Near that secret, Bash the pink slime into the breakable wall on the left. Aim Ori away from the wall so the slime launches toward it.
This is an environmental puzzle worth recognizing early. Before spending time attacking a barrier, look for a nearby enemy or projectile that you can redirect into it.
Pass through the opening, drop down, and spend the four Keystones at the Spirit Gate.
Before moving on, check that you have:
- Restored the Map Stone.
- Searched the hidden passage containing the third Keystone.
- Collected the fourth Keystone at the laser corridor’s end.
Climb the Laser Chasm and Position the Stones
The next stretch of Ori and the Blind Forest Sorrow Pass combines another Keystone hunt with a movable-stone puzzle. You’ll need the stones positioned correctly to clear the laser route.
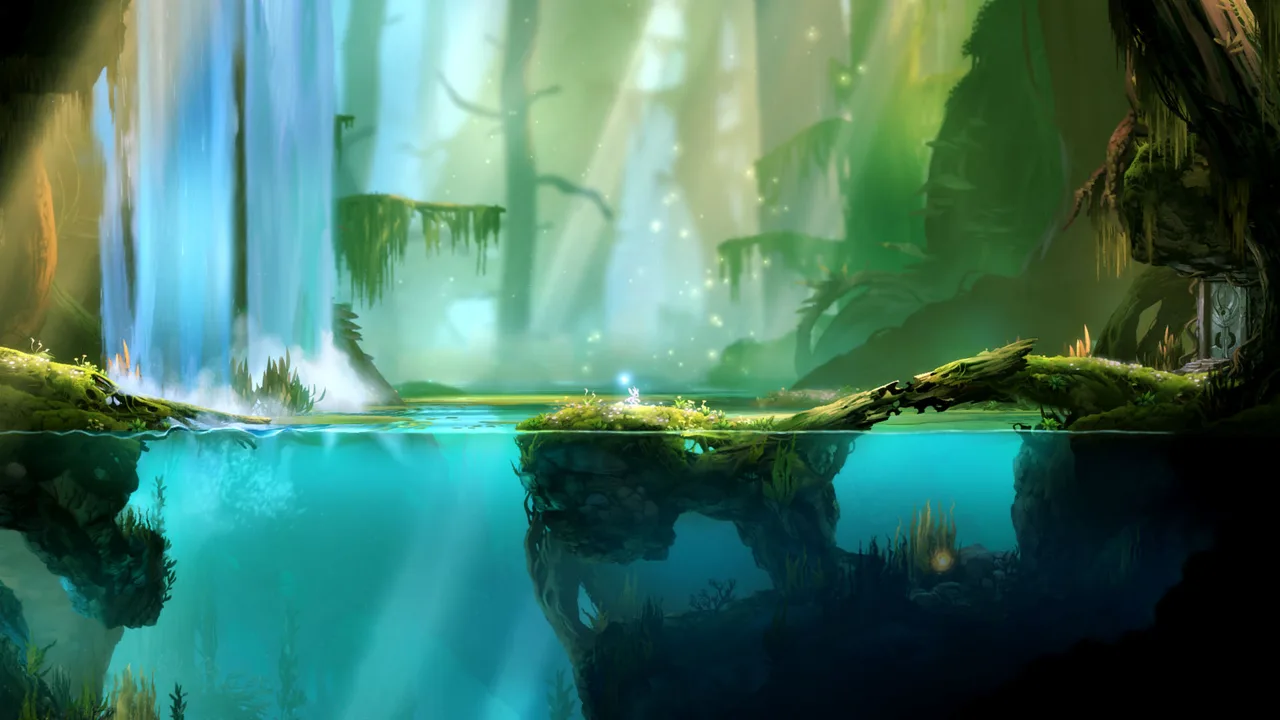 Image: Steam / Moon Studios GmbH
Float around the spikes beyond the gate and Stomp through the barrier. Head left, then use the spider’s projectiles as Bash targets to reach a hidden area above.
Pull the lever there. It opens a door higher up with an Ability Point behind it, so include that pickup as you continue climbing.
Collect the Next Four Keystones
Ascend the chasm while avoiding the lasers and gathering four more Keystones. Near the top, look left for a round stone.
Push it into the rising air current and let the wind lift it. Before leaving this section, search the upper-left secret for an Energy Cell.
Once you have all four Keystones, open the Spirit Gate and Bash the stone through it. Stomp the barrier on the other side so the stone can fall, then descend after it.
Solve the Laser Puzzle
Work through the stone movements in sequence. The puzzle uses both movable stones and a pole that changes the laser setup.
| Sequence | Action | Purpose |
|---|---|---|
| Move the first stone | Bash it into the laser beam on the right, then push it across | Block the beam along that route |
| Raise the second stone | Bash it into the other air current | Position it to block the second laser |
| Reach the pole | Jump up and Stomp the pole | Block the laser controlled by the pole |
| Reposition the second stone | Drop down and Bash it onto the third laser | Clear the onward passage |
Make one adjustment at a time. After moving a stone, check where it settles before crossing the beam or setting up your next Bash.
Once the passage is clear, climb up to the floor barrier on the right. Stomp it twice to release the airflow, then ride the current into the upper area.
Optional pickups to check here:
- The Ability Point behind the lever-operated door.
- The Energy Cell in the upper-left secret.
The round stone also provides an opportunity for Juggle Master: Bash a rock five times without letting it touch the ground. Keep it away from walls and the ceiling, too. Aim Ori downward to send the rock upward, then jump into position for another Bash.
Find the Upper Keystones Among the Spikes
The upper section of Ori and the Blind Forest Sorrow Pass asks for tighter control while floating. Four more Keystones sit among the spike passages, including another hidden pickup.
 Image: Steam / Moon Studios GmbH
The wind keeps you moving, so identify the next opening before drifting toward a collectible. Follow the route in manageable sections rather than trying to sweep through the whole chamber at once.
- Float to the right and collect the two Keystones among the spikes.
- Cross to the left for the third Keystone.
- Continue left past the optional Spirit Light Container.
- Move farther left, then upward into the secret containing the fourth Keystone.
- Drop down to the Spirit Gate and use the complete set.
| Pickup | Location landmark | Route instruction |
|---|---|---|
| Two Keystones | Right-hand spike passages | Float through the openings to reach both |
| Third Keystone | Left side of the chamber | Cross back left after collecting the right-hand pair |
| Spirit Light Container | Farther along the left route | Collect it as an optional detour |
| Fourth Keystone | Hidden area farther left and above | Continue left, then rise into the secret |
The Spirit Light Container is optional. Keep your attention on the Keystone route if the surrounding spikes are giving you trouble.
If you reach the gate short of a Keystone, revisit the upper-left secret. The route includes two pickups on the right, one on the left, and the final one tucked into that hidden area.
After opening the gate, Stomp through the barrier and head left. The Ancestral Tree ahead grants Charge Jump, the ability used for the remaining ascent.
Unlock Charge Jump and Reach the Spirit Well
Charge Jump changes how you navigate Ori and the Blind Forest Sorrow Pass. It lets you charge an upward leap or launch sideways while holding a wall, opening routes through the barriers and spikes ahead.
Leave the Ancestral Tree
- Use Charge Jump to break the barrier above.
- Work around the spikes.
- Bash past the spiders.
- Continue through the next spike section using Charge Jump.
- At the top, use the spider’s projectiles to break the barrier leading to the Spirit Well.
Take a moment to choose a clear landing path before releasing each charged leap. Extra height helps only when the route above you is open.
For a sideways jump, hold onto a wall and charge toward the left or right as needed. Keep the destination in view so you can judge the spike clearance before launching.
Handle Barriers Near the Well
The Spirit Well comes after the Charge Jump tree on this route. If you have reached the well through the normal ascent, you have already passed the ability pickup.
Use the surrounding puzzle elements to identify the next action:
- Redirect the spider’s projectile to open the barrier at the well.
- Use Charge Jump for the breakable barriers along the route afterward.
- Look for a lever when a door is connected to a switch puzzle.
Leave nearby projectile-firing enemies available until you have checked the surrounding barriers. Their shots serve as both climbing targets and tools for opening passages.
From the well, float right and continue through the spikes, using Charge Jump to cross gaps and break barriers.
Release the Final Airflow and Collect the Sunstone
The final Ori and the Blind Forest Sorrow Pass objective brings you back to the main chasm. Reaching that familiar open space is your cue to look below before continuing upward.
- Follow the right-hand route from the Spirit Well.
- Use Charge Jump to navigate the spikes and break barriers.
- Return to the main chasm.
- Drop down and break the barrier below.
- Ride the newly released airflow upward.
- At the very top, head left to collect the Sunstone.
The lower barrier is the crucial step. Breaking it lets the wind rise through the chasm and carry you toward the summit.
Before leaving the area, review the optional pickups along the route:
- Ability Point behind the lever-operated door.
- Energy Cell in the upper-left secret near the movable stone.
- Spirit Light Container along the upper-left spike passage.
- Access to the Spirit Well beyond the spider-projectile barrier.
If you’re playing the original Ori and the Blind Forest and pursuing completion achievements, finish your remaining exploration before entering Mount Horu. Entering Mount Horu in that version prevents you from returning to the rest of Nibel.
FAQ
Where do you get Charge Jump in Ori and the Blind Forest Sorrow Pass?
Charge Jump comes from the Ancestral Tree beyond the upper spike section. Collect that section’s four Keystones, open the Spirit Gate, Stomp through the barrier, and head left.
How many Keystones do you collect in Sorrow Pass?
This route contains three groups of four Keystones, for twelve total. Each group opens its corresponding Spirit Gate.
How do you break the wall near the lower hidden Keystone?
Bash the nearby pink slime into the breakable wall on the left. Ori launches in your chosen direction, while the slime moves the opposite way.
How do you reach the Sunstone?
After passing the Spirit Well and returning to the main chasm, descend and break the barrier below to release the upward airflow. Ride the wind to the top, then head left.
Continue with
 Ori and the Blind Forest Valley of the Wind Map GuideExplore Ori and the Blind Forest Valley of the Wind with tips for falling slimes, blocked paths, Kuro, ability upgrades, and collectible cleanup today.
More in Maps
Ori and the Blind Forest Forlorn Ruins: Puzzle Guide
Master Ori and the Blind Forest forlorn ruins with gravity puzzle solutions, Keystone routes, secret locations, and tips for escaping Kuro. Find your way.
Ori and the Blind Forest Ginso Tree: Route and Escape
Master the Ori and the Blind Forest Ginso Tree with portal puzzle solutions, Bash tips, collectible reminders, and a clear route through the water escape.
Ori and the Blind Forest Map: Secrets and 100% Guide
Use the Ori and the Blind Forest map to track Life Cells, Energy Cells, Map Stones, and hidden secrets, navigate Misty Woods, and plan your 100% cleanup.

Ori and the Blind Forest Misty Woods: Complete Guide
Ori and the Blind Forest misty woods guide: find all four Keystones, learn Climb, solve shifting paths, restore the lantern, and reach the Forlorn Ruins.
Join the community
Game links and player communities: