
Ori and the Blind Forest Difficulty: What to Expect
Understand Ori and the Blind Forest difficulty, choose your starting mode, manage Soul Links, and prepare for demanding platforming and escape sequences.
Jump to
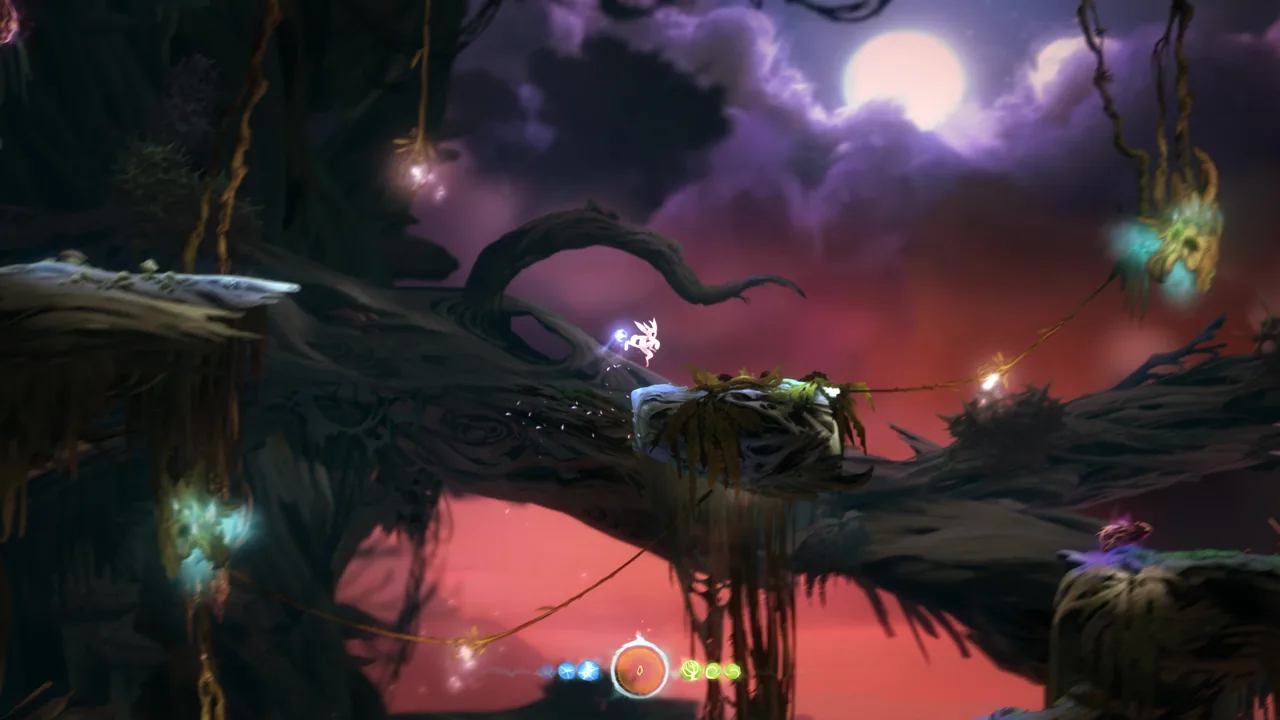
How Hard Is Ori and the Blind Forest?
That beautiful forest will make you work for every breakthrough. Ori and the Blind Forest difficulty matters because its emotional story comes with demanding jumps, dangerous environments, and escape sequences that can interrupt your progress. Understanding Ori and the Blind Forest difficulty before starting helps you prepare for repeated attempts and learn how to keep a missed jump from costing unnecessary progress.
Expect a challenging platformer centered on movement, timing, and checkpoint management. Combat contributes to the challenge, especially when enemies crowd the screen, but navigating hazards is a major part of surviving Nibel.
The pressure also changes throughout the adventure. Exploration gives you opportunities to study a route and decide where to save. Escape sequences demand that you connect actions while danger keeps moving.
| Challenge | What makes it demanding | How to approach it |
|---|---|---|
| Environmental hazards | Lava, lasers, and dangerous obstacles punish positioning mistakes | Study the route before committing to a jump |
| Groups of enemies | Several enemies can create overlapping threats | Watch their attacks before moving through the group |
| Soul Link management | Creating checkpoints uses energy shared with certain abilities | Keep enough energy available to save |
| Escape sequences | Sustained movement tests several skills together | Learn the route in manageable sections |
The contrast between the art and the action can catch you off guard. Gentle lighting and an expressive little hero do not mean every passage allows relaxed sightseeing.
Ori and the Blind Forest difficulty becomes easier to understand when you separate two problems: executing the next movement and protecting the progress you already made. Improving either one makes retries less frustrating.
Official page: Ori and the Blind Forest (store.steampowered.com)
Normal or Hard: Choose With Your Edition in Mind
Check which edition you are playing before looking for difficulty settings. The original Ori and the Blind Forest does not offer the difficulty selection available in Ori and the Blind Forest: Definitive Edition.
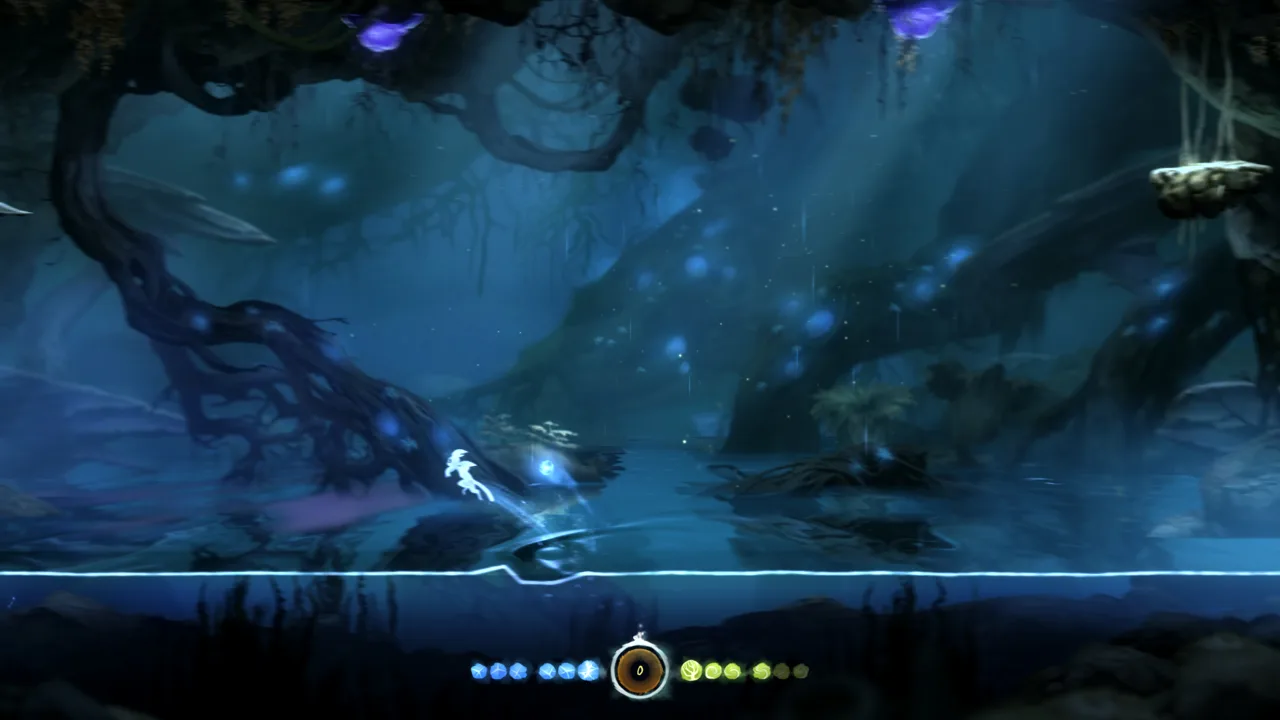 Image: Steam / Moon Studios GmbH
That distinction matters when following advice about starting on Normal or Hard. Those choices belong to the Definitive Edition.
| Edition or setting | What to know |
|---|---|
| Original release | Does not offer selectable difficulty |
| Definitive Edition: Normal | Provides a less demanding choice than Hard |
| Definitive Edition: Hard | Offers an additional challenge for players comfortable with demanding platformers |
Choose Normal if you want room to learn Ori’s movement and saving systems. Choose Hard if you already enjoy difficult platforming and want the additional challenge while learning a new game.
Experience with Celeste, Super Meat Boy, or Hollow Knight can help you judge your tolerance for repetition. Still, avoid treating those games as a precise difficulty scale. Being comfortable with difficult combat does not automatically make an escape route familiar.
Ori asks you to read space, manage momentum, and respond to hazards. Those demands can feel different from learning an enemy’s attack pattern.
When choosing your Ori and the Blind Forest difficulty setting, think about what you want from the session. If repeated attempts sound satisfying, consider Hard. If you want fewer obstacles between exploration and the next story moment, start with Normal.
Neither choice removes the need to learn the platforming. Give yourself time to understand the movement before judging your ability by the death counter.
Make Soul Links Part of Your Routine
Soul Links let you create your own checkpoints, using Ori’s blue energy. Traditional save locations also exist, but much of your control over lost progress comes from remembering to place these checkpoints yourself.

That freedom creates a resource decision: some abilities, including Charge Flame, draw on the energy you also need for saving.
Spending your remaining energy on an attack can leave you without a fresh checkpoint before a difficult passage. Forgetting to save after clearing that passage can make the next mistake feel much worse.
| Resource or feature | Function | Practical habit |
|---|---|---|
| Soul Links | Create checkpoints using energy | Place one after clearing a demanding stretch when conditions allow |
| Blue energy | Supports Soul Links and energy-consuming abilities | Check your remaining energy before spending it |
| Charge Flame | Uses energy for a stronger attack and can open certain barriers | Account for its cost before the next checkpoint |
| Energy shards | Drop from some enemies and breakable blue crystals | Collect available shards while preparing to continue |
Build a deliberate saving rhythm:
- Check your checkpoint before entering a difficult route. Remember what you would need to repeat after a death.
- Check your energy before using Charge Flame. Account for both the immediate obstacle and your next save.
- Save after a breakthrough when possible. Protect the section you have just learned.
- Reassess after repeated deaths. Identify whether the problem is execution, an awkward checkpoint, or depleted energy.
Saving does not replace practice. It keeps practice focused on the part causing trouble.
A substantial part of Ori and the Blind Forest difficulty comes from how much ground a mistake sends you back across. If every attempt includes a long stretch you already understand, reconsider where you are placing Soul Links.
Avoid carrying the same checkpoint forward simply because you have not died yet. Successful movement is progress worth protecting.
Learn Movement Before Pushing Through Escapes
The escape sequences bring Ori’s platforming demands into sharp focus. They ask you to use the skills you have learned while a pursuing threat limits your thinking time.

You cannot depend on creating a Soul Link wherever you want during these sequences. Approach them prepared to repeat a sustained stretch of movement.
Practice Bash With a Clear Destination
Bash allows Ori to launch away from suitable targets, including enemies and projectiles. Ori travels in the direction you select, while the target moves in the opposite direction.
That makes Bash useful for traversal and for redirecting danger. It also means the direction you choose affects more than Ori’s immediate position.
Before activating Bash, identify your destination. Aim toward the platform, opening, or next target you intend to reach. Practicing that decision during less pressured movement gives you a clearer task during an escape.
Avoid treating every enemy or projectile purely as something to eliminate. Bash makes some of them useful movement opportunities.
Turn Retries Into Specific Adjustments
After a failed attempt, identify the action that broke the route. Did you jump before reaching the edge? Choose an unhelpful Bash direction? Reach the next obstacle without recognizing where to go?
Change that action on the next attempt.
Repeating the entire sequence while vaguely trying to move faster gives you little to evaluate. Learning where to jump, what to target, and where to land gives each retry a purpose.
Ori and the Blind Forest difficulty can feel especially sharp when a sequence combines skills you previously used separately. Practice linking those actions rather than viewing every death as evidence that you cannot finish.
Use Comfortable Controls
The PC version supports a controller. If your keyboard setup makes wall jumps or combinations awkward, try a controller and compare how comfortably you can execute the same movement.
If you prefer keyboard and mouse, review the controls before continuing. Avoid spending an entire escape attempt struggling to remember an input.
Control preference is personal. Use the setup that lets you concentrate on positioning, timing, and the next action.
Reduce Frustration Without Turning Every Run Into a Challenge
Exploration offers more than optional scenery. Health and energy upgrades expand the resources available to you, while Ability Tree upgrades can improve utility, efficiency, and combat.
Collect accessible upgrades before repeatedly forcing a difficult passage. Look at what is causing your failures, then pursue improvements that address that problem.
Extra resources help with survivable mistakes and energy management. They do not remove the need to navigate lethal hazards.
Spend Ability Points With Your Problem in Mind
Read the Ability Tree rather than putting every point into attacks. The game places substantial demands on movement, so utility and efficiency deserve attention alongside combat.
If enemies are blocking progress, consider combat improvements. If resource management and exploration are causing trouble, examine the corresponding utility options.
Keep learned movement abilities separate from optional Ability Tree upgrades in your thinking. The achievement for finishing without spending Ability Points is an extra restriction, not an instruction for a regular playthrough.
Separate Finishing From Achievement Hunting
Completing the story and pursuing demanding achievements are different goals. Adding a speed target or refusing upgrades can turn an already challenging adventure into a much stricter test.
| Achievement | Requirement | Restriction added to your run |
|---|---|---|
| Supersonic | Finish the game in under three hours | Adds time pressure |
| Elite | Complete the game without using an Ability Point | Removes optional Ability Tree upgrades |
| Immortal | Complete the whole game without dying | Requires a death-free completion |
Leave those restrictions for a run where you deliberately want them. Spend Ability Points, explore for resources, and learn the routes during an ordinary playthrough.
For short sessions, stop after securing progress rather than immediately starting another demanding sequence. Before quitting, make sure you have saved.
When returning, review your immediate objective and available movement abilities. If an escape has become a string of increasingly rushed mistakes, take a break and return ready to focus on the troublesome section.
Ori and the Blind Forest difficulty rewards patience, but patience does not require endless attempts in one sitting. Set a small objective—protect a checkpoint, understand a Bash transition, or clear one troublesome route—and give the next attempt a specific purpose.
FAQ
Is Ori and the Blind Forest difficulty suitable for beginners?
Beginners can find the platforming, resource management, and escape sequences demanding. In the Definitive Edition, choose Normal over Hard while learning. Practice movement, collect accessible upgrades, and create Soul Links regularly instead of relying entirely on fixed save locations.
Does the original Ori and the Blind Forest have difficulty settings?
The original release does not offer selectable difficulty. The Definitive Edition adds difficulty choices, including Normal and Hard. Check your edition before following instructions about selecting a mode.
Is Ori and the Blind Forest mainly difficult because of combat?
Much of the challenge comes from environmental hazards, precise movement, and escape sequences. Groups of enemies can also create difficult encounters. Pay attention to jumping, Bash direction, and checkpoint placement alongside attack upgrades.
How can I make Ori and the Blind Forest difficulty less frustrating?
Protect progress with Soul Links, preserve energy for saving, and practice movement combinations before demanding escapes. After a death, identify one action to change. Keep speedrun and death-free achievement restrictions separate from a playthrough focused on reaching the ending.
Continue with
 Ori and the Blind Forest How Long to Beat: Time GuideOri and the Blind Forest how long to beat: compare story, exploration, and 100% completion times for both editions, plus tips to plan a full playthrough.
More in Guides
Ori and the Blind Forest Can You Play After Completion?
Ori and the Blind Forest can you play after completion? Learn how saves influence backtracking, missable achievements, collectibles, and your 100% cleanup.

Ori and the Blind Forest Definitive Edition vs Original
Ori and the Blind Forest definitive edition vs original: compare new areas, abilities, fast travel, difficulty modes, and Steam extras before you choose.

Ori and the Blind Forest Speedrun: Routes and Tricks
Plan your Ori and the Blind Forest speedrun with beginner routing tips, All Skills skips, energy management, and practical advice for a faster finish.

Ori and the Blind Forest Walkthrough: Story & Secrets
Use this Ori and the Blind Forest walkthrough to plan your route, manage Soul Links, track missable collectibles, and prepare for the Mount Horu escape.
Join the community
Game links and player communities: