
Ori and the Blind Forest Keystone Locations: Full Guide
Find Ori and the Blind Forest keystone locations across Nibel, from Sunken Glades to Sorrow Pass. Follow clear area checklists and open every Spirit Gate.
Jump to
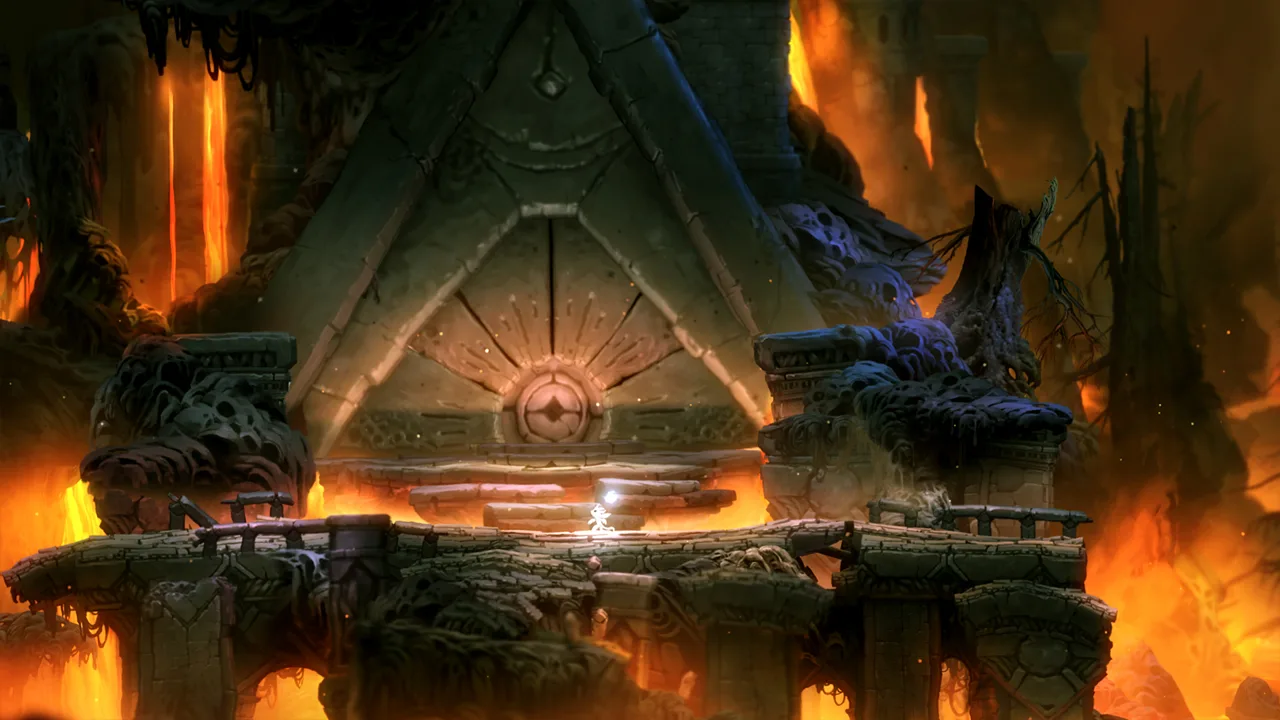
Sunken Glades Keystone Locations
One missing Keystone can leave you staring at a locked Spirit Gate. These Ori and the Blind Forest keystone locations help you find the stones needed to open those gates, which require either two or four. Follow the Ori and the Blind Forest keystone locations below by area, using recognizable landmarks to track down anything you missed.
Keystones open Spirit Gates; Energy Doors consume energy instead. Check which obstacle you’re facing before searching for another stone or spending your energy.
The numbers below organize this walkthrough; Keystones don’t have numbers in the game. Each area starts its own numbering sequence.
Sunken Glades contains eight Keystones. The early stones introduce short side passages, while later pickups involve movable rocks and platforms beyond the most obvious route.
| Keystone | Location | How to reach it |
|---|---|---|
| 1 | Small basin beneath the first Spirit Gate | From the gate in the central chamber’s upper-right corner, slide down the right wall. Jump into the passage on the left, climb through it, and drop into the basin. |
| 2 | Small corridor on the right | Slide down from the same gate. Wall jump left below the passage used for Keystone 1, then jump into the right-hand corridor. |
| 3–4 | Opposite sides of the central ascent | After opening the first gate, collect the stones on the left and right while climbing the chamber. Both are within jumping distance. |
| 5 | Behind the movable boulder | Push the boulder fully across the upper area, watching the spikes. Jump over the stationary rock to reach the stone. |
| 6 | Beside the Map Stone | Check the corridor just right of the Map Stone, including its apparent dead end. |
| 7 | Behind a rock above the Spirit Well | Use the bounce pad near the Spirit Well to return upward. Head left and pull the rock back. |
| 8 | Upper platform beyond swinging branches | Continue left from Keystone 7 and cross the swinging-branch section to reach the platform. |
For the two opening pickups, pay attention to passage height. Both routes begin below the same Spirit Gate, but the second requires dropping below the corridor leading to the first.
During the central climb, check both sides before continuing upward. Seeing a stone across the chamber doesn’t mean you need a later ability to reach it.
Checklist:
- Search both passages beneath the first Spirit Gate.
- Collect both stones along the central ascent.
- Check the boulder, Map Stone corridor, and route above the Spirit Well.
Official page: Ori and the Blind Forest (store.steampowered.com)
Thornfelt Swamp and Moon Grotto Keystone Locations
This section groups two underwater pickups in Thornfelt Swamp with two stones encountered around Moon Grotto. Keep the landmarks in mind when comparing your position with the area names.
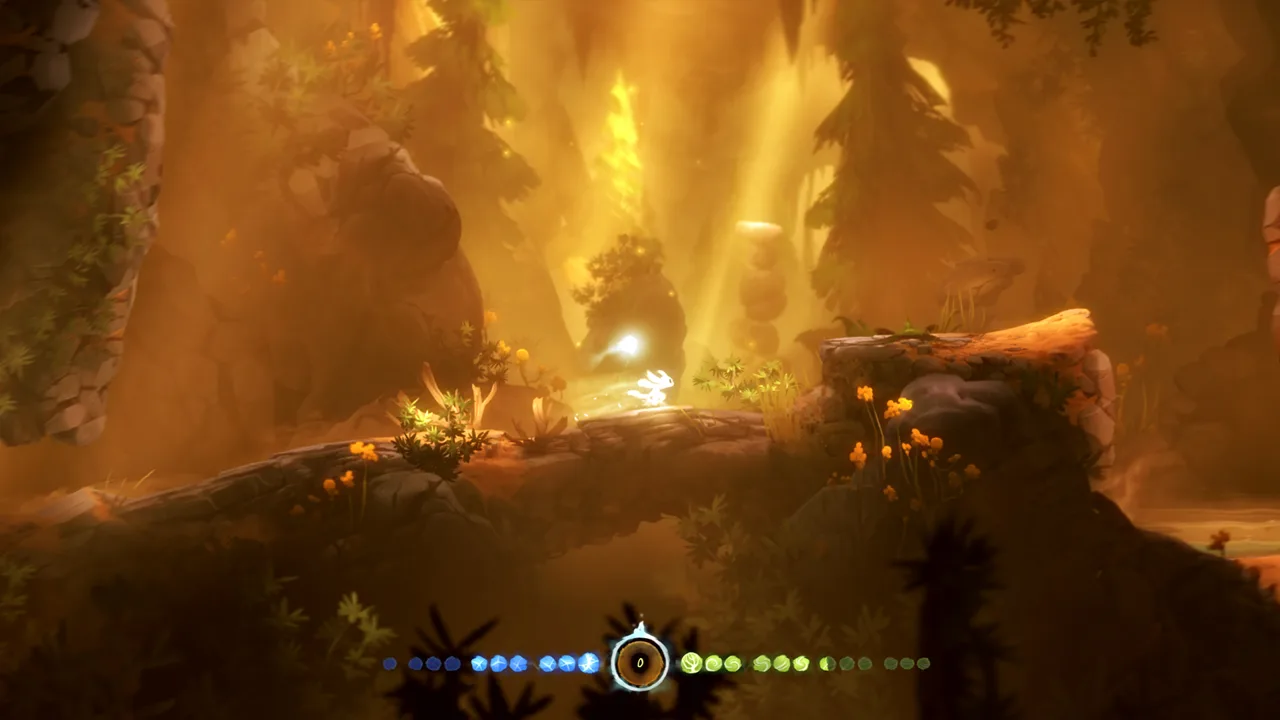 Image: Steam / Moon Studios GmbH
The submerged route becomes relevant once the area has filled with water. Its second Keystone requires a longer swim through hazards, with an air pocket along the way.
| Keystone | Area | Location and route |
|---|---|---|
| 1 | Thornfelt Swamp | Dive to the bottom of the flooded area, turn left, and follow the underwater corridor to its end. |
| 2 | Thornfelt Swamp | Swim right from the first pickup’s route. Surface in the first air pocket, then continue right past the smashing stone plates to a ledge. |
| 3 | Moon Grotto | During Gumo’s trap sequence, take the door on the right to find the stone. |
| 4 | Moon Grotto | Before reaching the Ancestral Tree, drop into the section containing a moving spiked pillar. Navigate around it to reach the Keystone on the other side. |
Use the first air pocket before committing to the second underwater pickup. Stop there, refill your breath, and watch the stone plates before swimming onward. Trying to combine the entire route into one uninterrupted dive adds avoidable pressure.
For the Moon Grotto stone near the Ancestral Tree, look below the approach rather than searching only along the tree’s immediate path.
When checking Ori and the Blind Forest keystone locations around this boundary, match the obstacle first: underwater plates point to the swamp route, while the moving spiked pillar identifies the grotto pickup.
Checklist:
- Search the left underwater corridor.
- Refill your breath before crossing the smashing plates.
- Check Gumo’s right-hand door and the pillar section before the Ancestral Tree.
Ginso Tree Keystone Locations
The Ginso Tree contains eight Keystones, with portals doing much of the work of moving you between them. Follow each portal’s exit before deciding which ledge to approach next.
 Image: Steam / Moon Studios GmbH
The first four stones involve portal routes. The remaining four sit along a tighter platforming section where lanterns help you move between pickups.
| Keystone | Landmark | Route |
|---|---|---|
| 1 | Portal room after an enemy encounter | Defeat the enemy in the enclosed encounter, exit right, and enter the right-hand portal. Drop through the floor portal to emerge above, then move right onto the central section and drop in. |
| 2 | Lower-right portal | Double Jump into the lower-right portal. From its upper exit, Double Jump toward the visible Keystone. |
| 3 | Route beneath the Spirit Gate | From the portal exit below the gate, jump over the Life Cell area. Descend left past the spikes and enter the portal, then drop through the tree trunk from the upper exit. |
| 4 | Ceiling portal beside Keystone 3 | Enter the ceiling portal to the left of the third pickup. Its exit places you beneath the spikes near the next stone. |
| 5–8 | Tight platforms with lanterns | Use Bash on the lanterns to move through the platforming section and collect all four stones. |
For Keystone 3, treat the Life Cell as a navigation landmark. The route continues over its area and down toward a portal on the left.
At the final cluster, pause to identify your next lantern before launching. Bash sends Ori in the direction you choose, so line up the next platform or pickup instead of rushing through the sequence.
These Ori and the Blind Forest keystone locations are easier to follow when you track portal entrances and exits as pairs. After teleporting, orient yourself around the nearby spikes, central platforms, or Spirit Gate.
Checklist:
- Collect the four stones along the portal routes.
- Sweep the lantern section for all four remaining pickups.
- Return to the Spirit Gate with the required stones.
Misty Woods Keystone Locations
Misty Woods contains four Keystones in its unmapped upper section, along the route toward the Ancestral Tree. They open a Spirit Gate within that same unmapped area.
 Image: Steam / Moon Studios GmbH
Here, searching by visible terrain matters more than checking a map marker. Keep track of the branches and platforms you’ve crossed while working toward the tree.
Use this checklist through the upper section:
- Follow the route toward the Ancestral Tree.
- Inspect the upper platforms and branches along that route for Keystones.
- Keep count as you collect them; this section contains four.
- Bring all four to the Spirit Gate in the unmapped area.
Don’t use the numbered labels from other areas to identify these stones. The useful target here is the complete set of four within the upper woods.
For Ori and the Blind Forest keystone locations in Misty Woods, focus your search on that upper route. Retrace it by recognizable terrain if you reach the gate short of a stone.
Checklist:
- Search the unmapped upper woods toward the Ancestral Tree.
- Collect four Keystones.
- Open the Spirit Gate in the same section.
Forlorn Ruins Keystone Locations
The Ori and the Blind Forest keystone locations in Forlorn Ruins include four Keystones spread around pillars, gold stones, spikes, and a moving laser. Several routes involve changing your position around surfaces, so look above and below your current platform before moving away.
| Keystone | Landmark | Location and approach |
|---|---|---|
| 1 | Pillars after the spider-projectile section | From the area where spider projectiles help you reach a Spirit Light Container, drop onto the pillars. Follow the left wall around to the roof, then drop toward the Keystone. |
| 2 | Neighboring gold stones | Move to the right side of the gold stone, jump off, and land on the gold stone to the left, where the pickup sits. |
| 3 | Map Stone and spike section | Drop below the Map Stone and navigate the spikes. Look for the platform above them on the upper left. |
| 4 | Moving laser beside gold stones | Cross the gold stones through the moving-laser section. The Keystone lies down and to the left beyond them. |
For the first pickup, the important turn is around the left wall toward the roof. Dropping onto the pillars alone doesn’t finish the route.
For Keystone 3, locate the upper-left platform before entering the spikes. Give yourself a destination rather than searching while already moving through the hazard.
At the moving laser, watch its motion before crossing. Reach the far side, then search downward and left for the final stone.
Checklist:
- Follow the wall-to-roof route near the pillars.
- Check the left gold stone and platform below the Map Stone.
- Search down-left after the moving laser.
Sorrow Pass Keystone Locations
Sorrow Pass has 12 Keystones and three Spirit Gates. Divide the search into three groups of four so you can keep track of your progress through the wind currents and laser sections.
The first group begins near the Map Stone, the second sits around a lever-and-laser challenge, and the final group includes concealed pickups.
| Keystone | Landmark | Where to go |
|---|---|---|
| 1 | Breakable barrier left of the Map Stone | Stomp through the barrier, then ride the upward current to the stone. |
| 2 | Below Keystone 1 | Float downward and left from the first pickup. |
| 3 | Hidden area above Keystone 2 | Travel up and left from the second pickup into the concealed space. |
| 4 | Lower laser corridor | From Keystone 3, head right and descend to the bottom. Follow the corridor left through the lasers. |
| 5–8 | Lever near an Ability Cell | Activate the nearby lever, then navigate the lasers to collect the four clustered stones. |
| 9–10 | Spike-lined section | Search the new section for two Keystones tucked among the spikes. |
| 11 | Left of the concealed pair | Keep floating left from Keystones 9 and 10. |
| 12 | Hidden space beyond a Spirit Light Container | Continue left past the difficult-to-reach container, then rise slightly into the hidden area. |
For the opening group, remember the route as up, down-left, up-left, then right and down. That sequence connects the four landmarks without requiring you to search the entire pass again.
The final stone sits beyond the Spirit Light Container. Continue left and slightly upward rather than ending your search at the container.
Save with a Soul Link on safe ground after collecting a difficult group, provided you have energy available. Dying before saving can erase recent pickups and force you through the same hazards again.
Keep these Ori and the Blind Forest keystone locations handy while checking the spike-lined section; two stones are concealed there, and another waits farther left.
Checklist:
- Collect four stones around the Map Stone and lower corridor.
- Gather four from the lever-and-laser section.
- Find the concealed pair and the two pickups farther left.
FAQ
How many Keystones does a Spirit Gate require?
Spirit Gates require either two or four Keystones. Check the gate’s requirement before retracing an area for another pickup.
Where should I check for missing Ori and the Blind Forest keystone locations?
Start with the landmarks in your current area: side passages in Sunken Glades, portal routes in Ginso Tree, and concealed spaces around Sorrow Pass’s spikes. In Misty Woods, search the unmapped upper route toward the Ancestral Tree.
Are Keystones used to open Energy Doors?
No. Keystones open Spirit Gates. Energy Doors consume energy, with their markings indicating the amount required.
Where is the last Keystone in Sorrow Pass?
Continue left beyond the difficult-to-reach Spirit Light Container, then float slightly upward into the hidden area containing the final Keystone.
Continue with
 Ori and the Blind Forest Kuro's Feather: Glide GuideFind Ori and the Blind Forest Kuro's Feather, distract Kuro, and learn how to glide, ride wind currents, and handle the tricky route into the Misty Woods.
More in Items
See all Items
Popular pages

Ori and the Blind Forest Can You Play After Completion?
Ori and the Blind Forest can you play after completion? Learn how saves influence backtracking, missable achievements, collectibles, and your 100% cleanup.

Ori and the Blind Forest Forlorn Ruins: Puzzle Guide
Master Ori and the Blind Forest forlorn ruins with gravity puzzle solutions, Keystone routes, secret locations, and tips for escaping Kuro. Find your way.
Ori and the Blind Forest Abilities: Unlocks & Builds
Master Ori and the Blind Forest abilities with skill unlock locations, practical combat tips, and ability point priorities for easier exploration of Nibel.
Ori and the Blind Forest Achievements: 100% Roadmap
Master Ori and the Blind Forest achievements with a full completion order, missable checklists, combat tips, and strategies for Immortal and One Life Mode.
Join the community
Game links and player communities: